
shapez 2 looks calm until one bad belt route turns the factory into a rebuild apology.
This guide keeps production alive: separate lanes, use vertical space early, check belts before adding machines, and build a trash lane before wrong outputs jam everything.
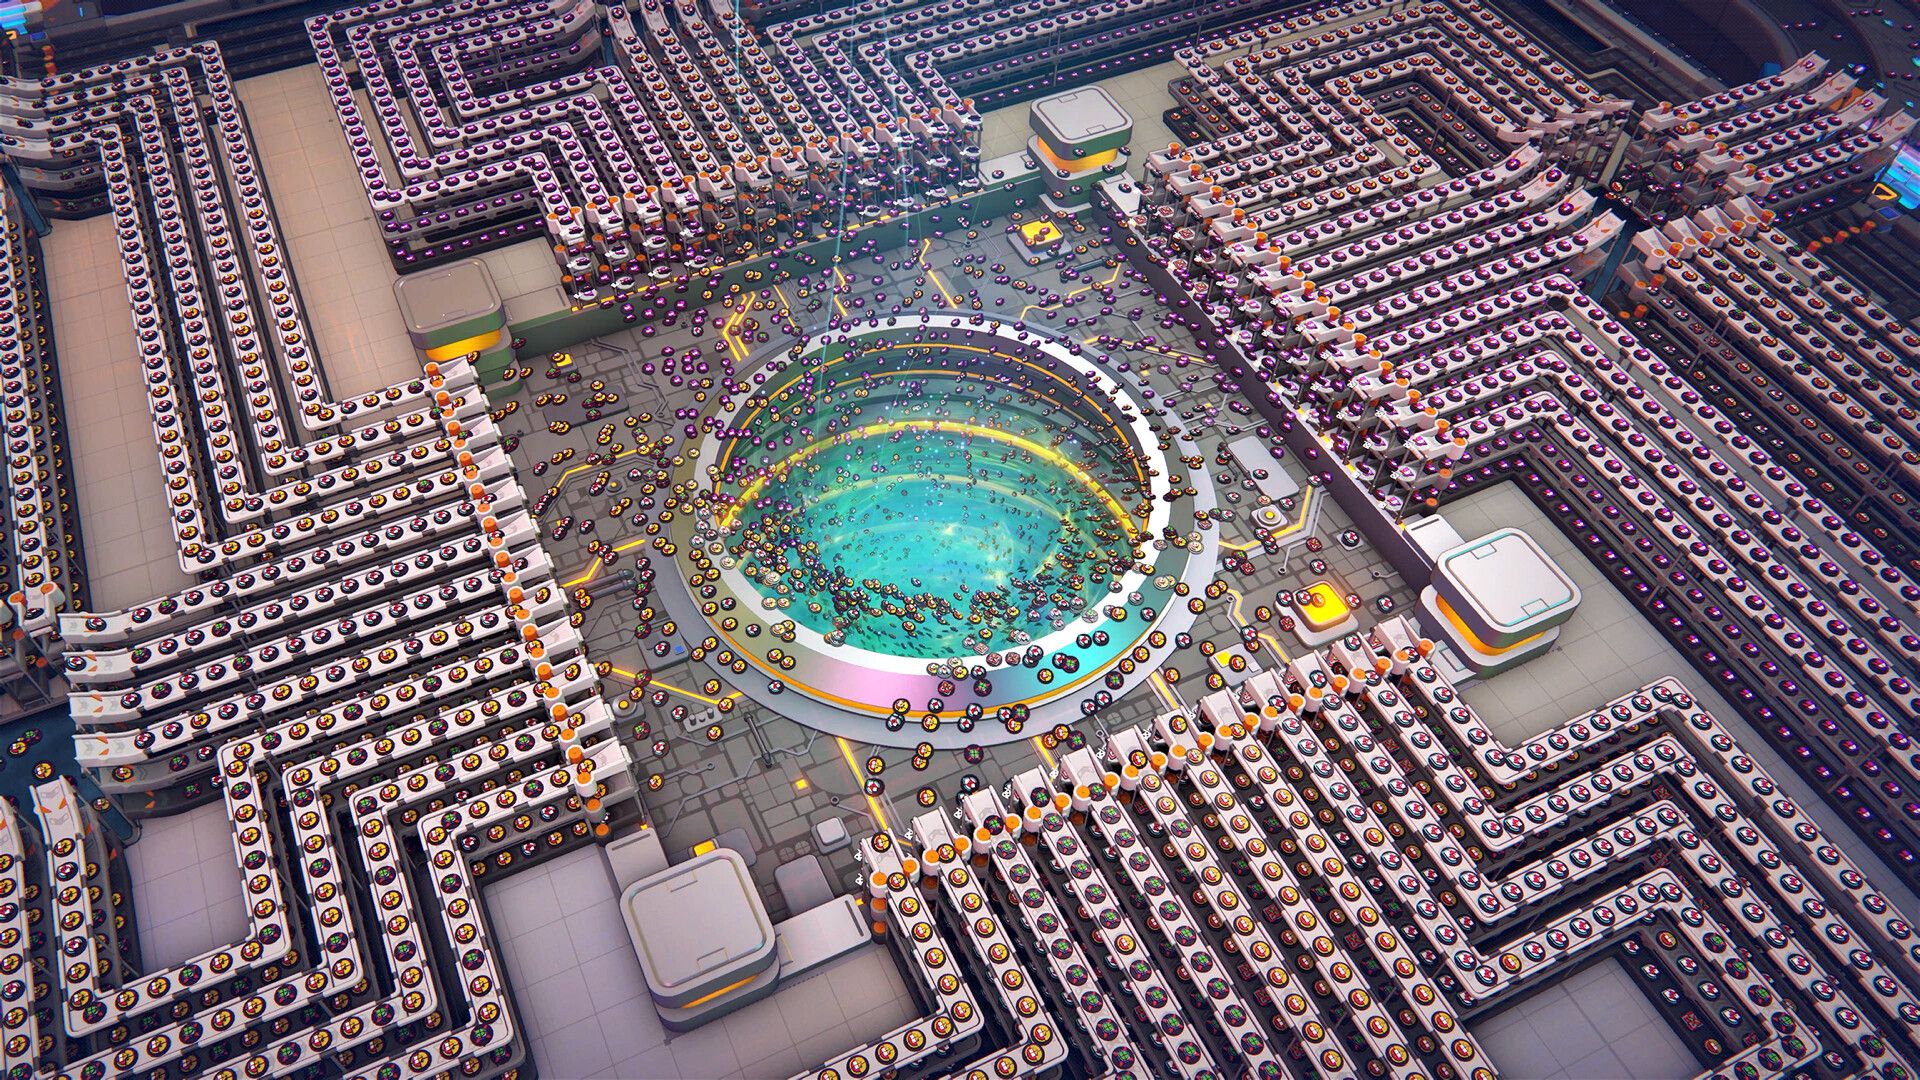
Separate Before You Merge
Raw and processed shapes should not trip over each other.
Separate The Lanes
Raw shapes and processed shapes do not move the same way. Keep extraction and processing on separate belts until the final merge, or one slow mess stalls the whole line.
Build Up Before Panic
Vertical space is not a late-game luxury. Use upper layers for crossings and flexible routes before your floor turns into an apology.
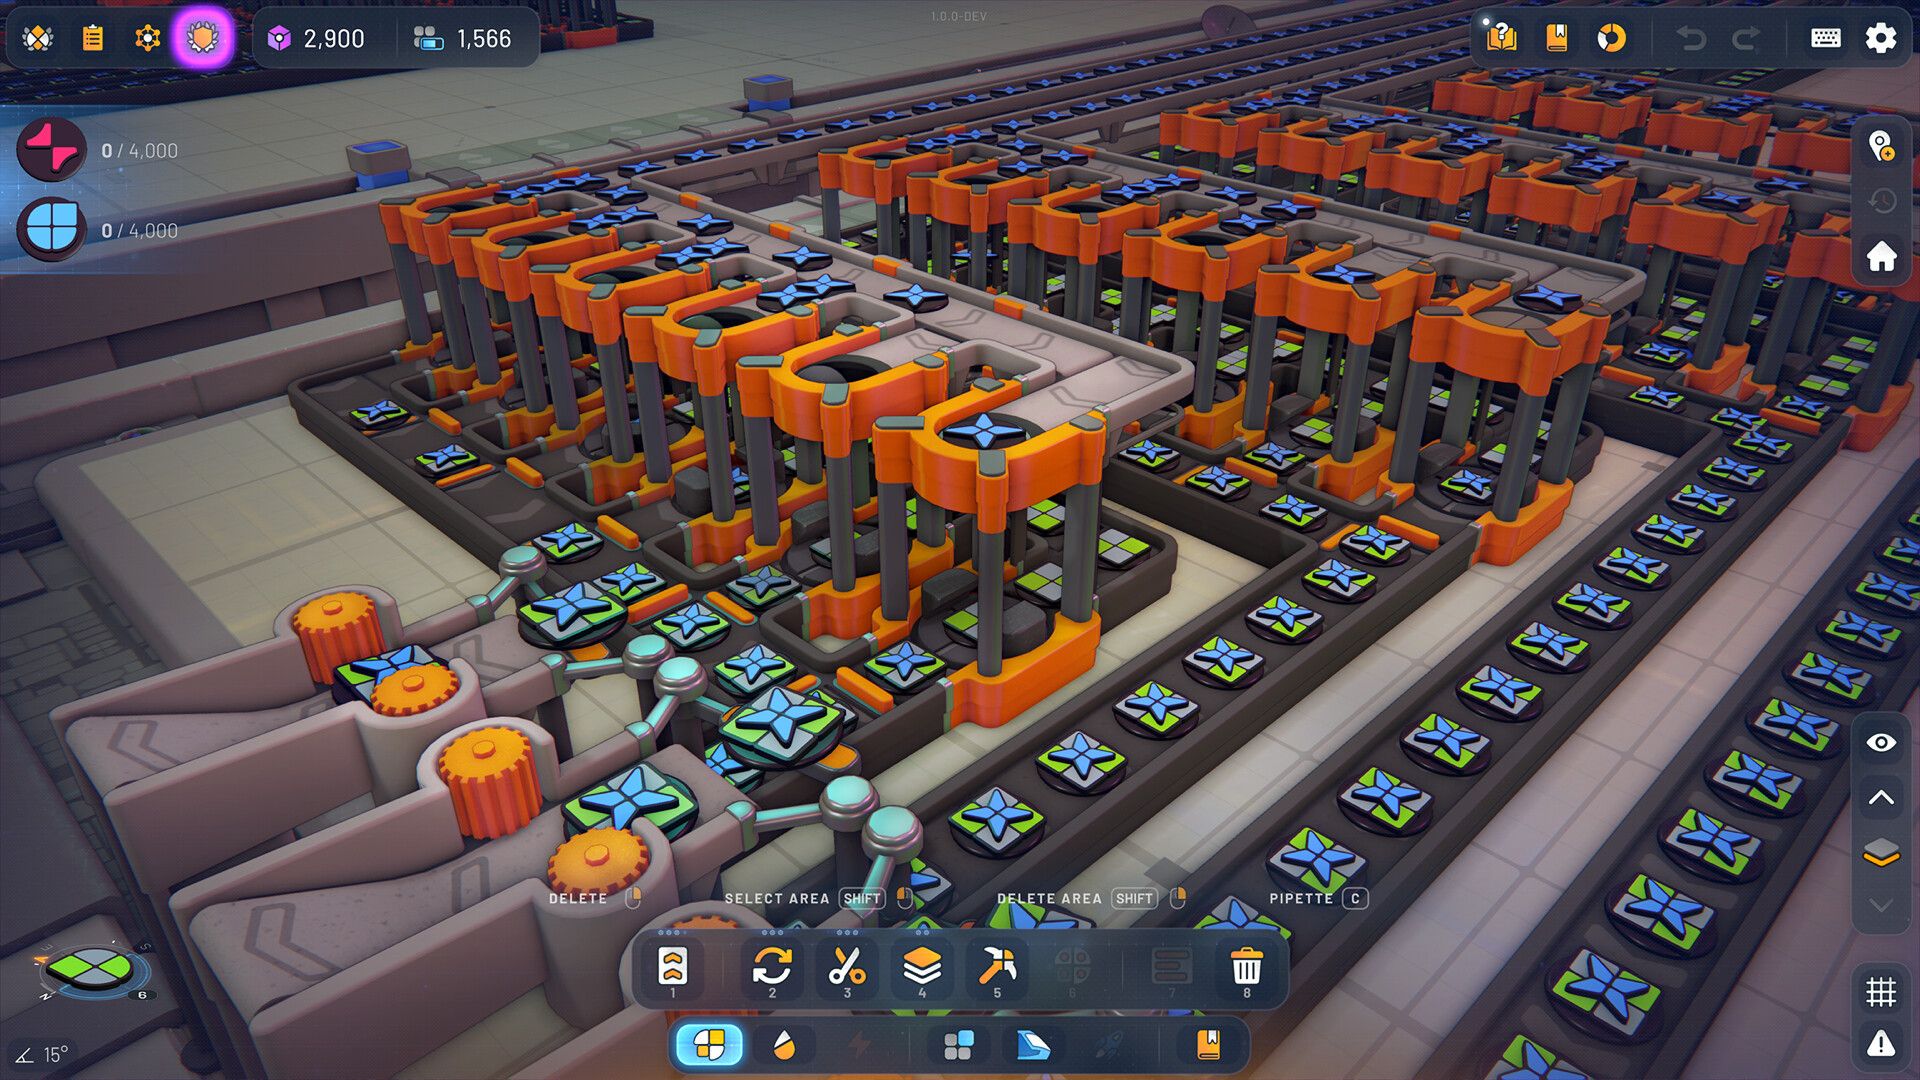
Use Vertical Space Early
Upper layers save the floor before it becomes a knot.
Check Belts Before Machines
When output drops, do not instantly spam processors. One slow belt can starve every machine behind it and make your shiny expansion useless.
Route Before You Place
Processors have fixed inputs and outputs. Plan the belt path first, then place the machine, unless you enjoy paying the rebuild tax.
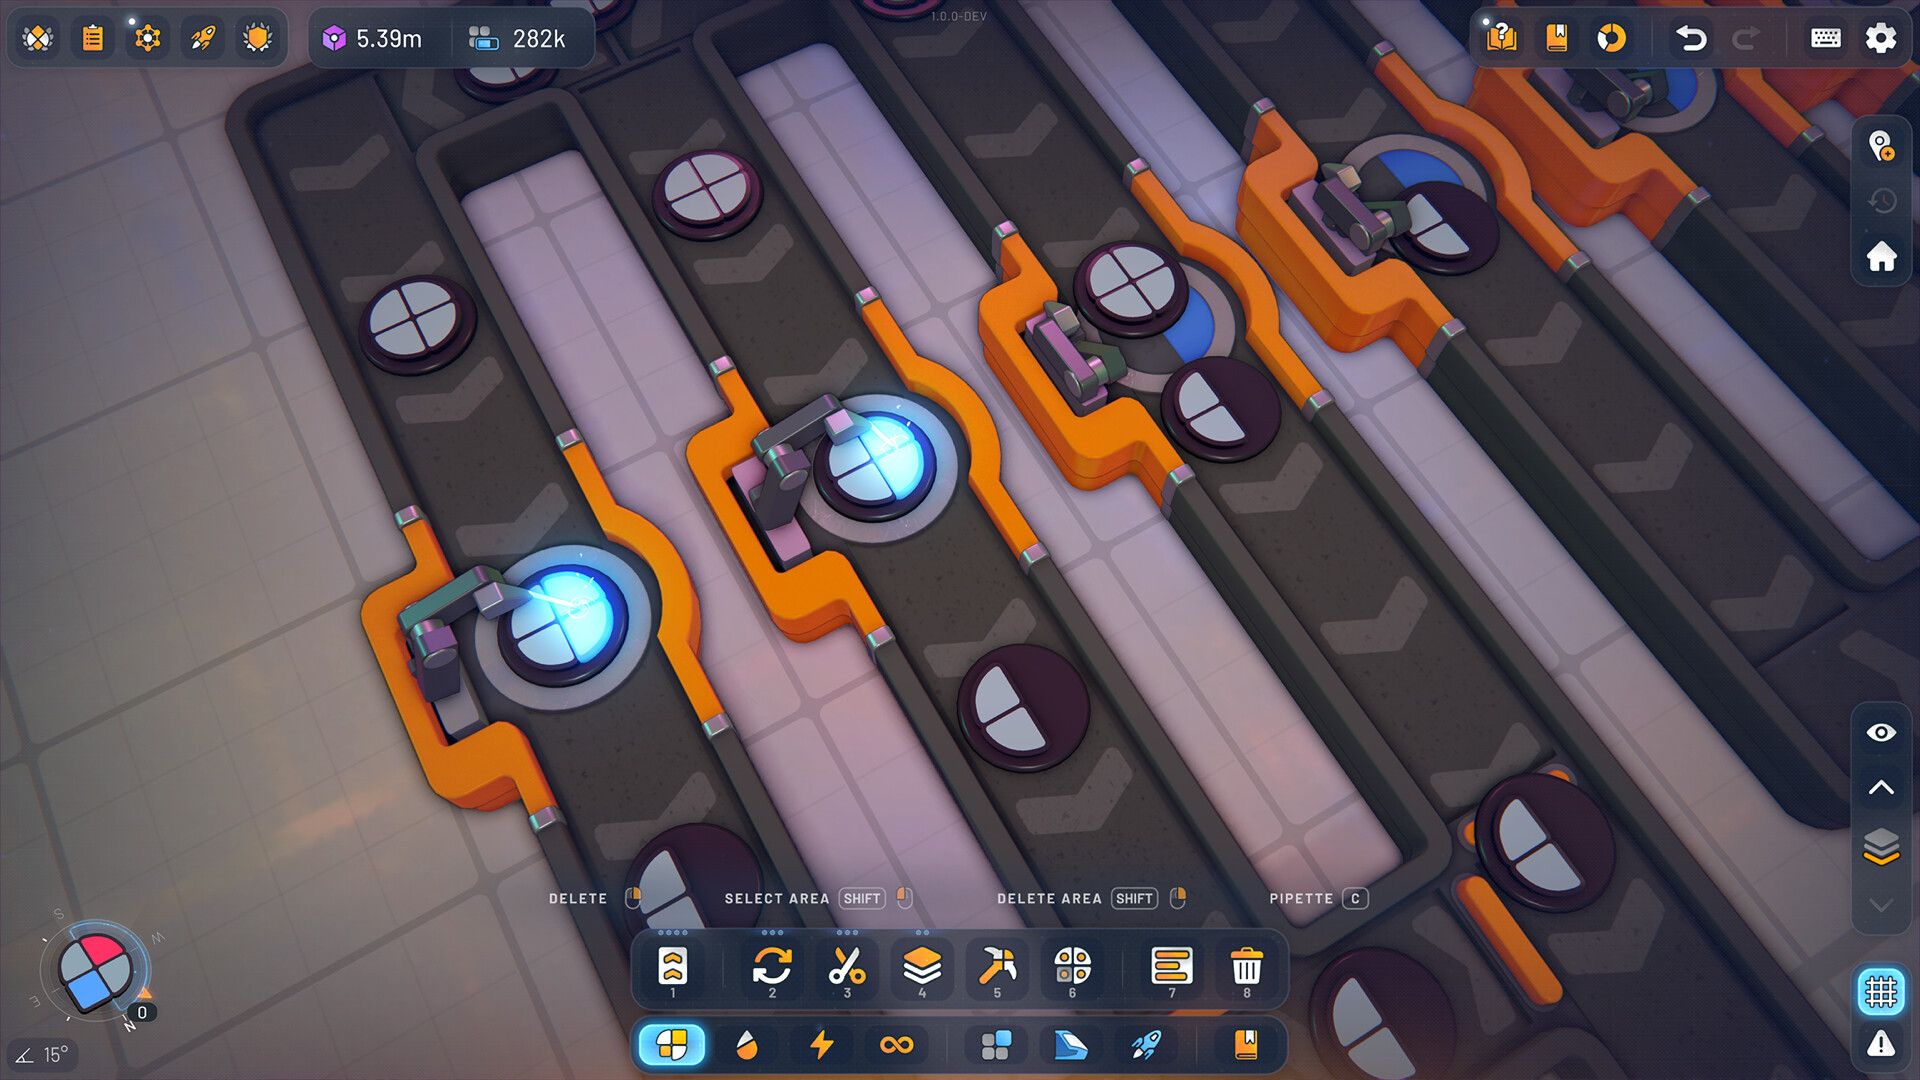
Find The Bottleneck First
Machines cannot fix a starving belt.
Build A Trash Lane
Wrong cuts and dead outputs are not harmless. Dump them before they back up the factory and turn one mistake into a full production jam.
Stage Rotators Early
Rotators are cheap and show up constantly. Leave room near your main line now so one future shape does not force a full teardown.
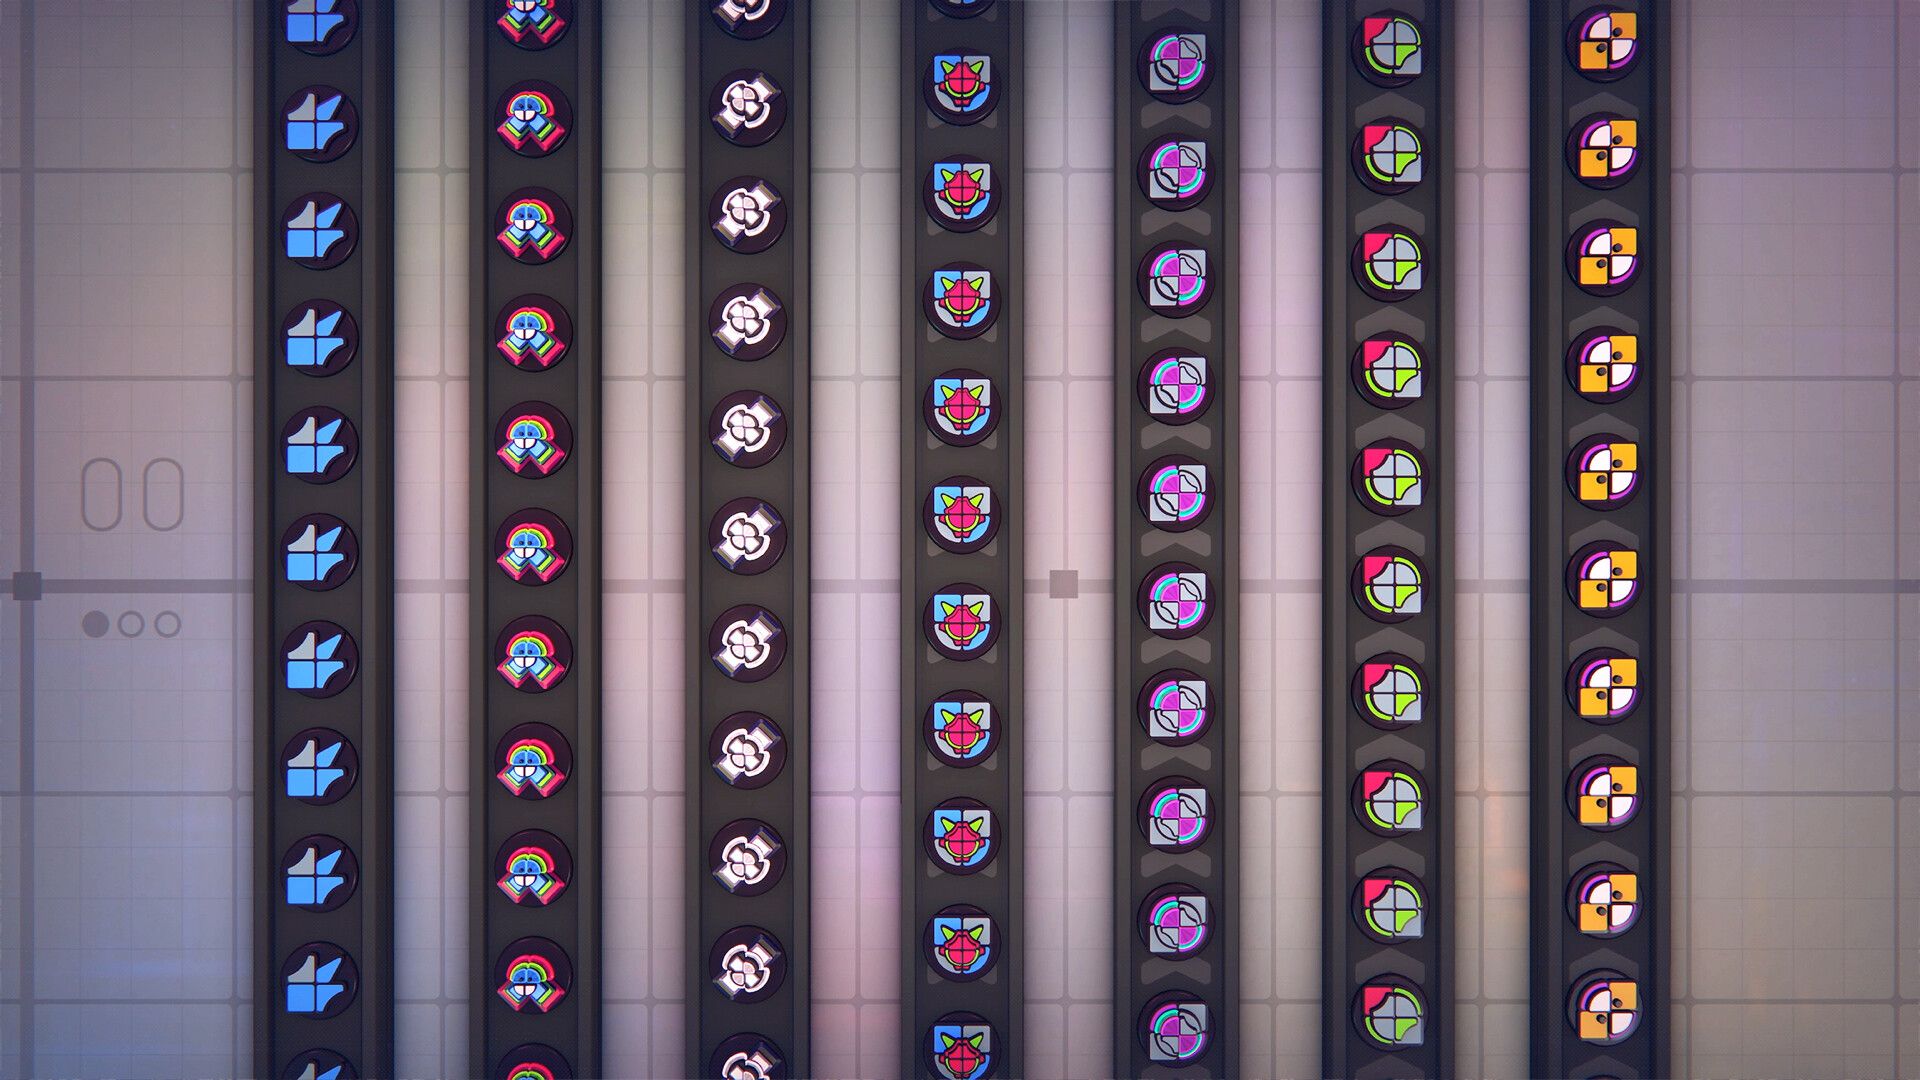
Leave Room For Cleanup
Wrong cuts need somewhere to die.
Keep Stackers Low
Stackers are easier to feed from level 1. Put them too high and you create routing problems just to feel clever for five seconds.
Rebuild Without Mercy
Your first factory will break when the demands scale. Patch jobs feel faster, but a clean rebuild usually saves the run.
The Short Version
Route first, place second, use vertical space before panic, and give bad outputs a trash lane before one mistake stalls the whole line.
Be the first to add a comment.