
Stop Wasting Gear in Active Matter With These Eight Checks
Check your Investigation loadout, safe container, supplies and Workshop spending before another Active Matter raid costs you progress.
Provided Equipment looks like the sensible way to learn Active Matter without risking your stash. There is a catch: those raids do not advance Investigations. If that is why you deployed, surviving the trip still will not finish the job.
These eight checks cover the decisions around a raid that are easy to get wrong. They draw on launch guides and official updates through September 26, rather than firsthand testing. Active Matter reached Steam on September 15, so older menu instructions already need a second look.
Before you pick a raid
1. Bring your own equipment for Investigations
Check the objective before choosing a free kit. The September 14 update explicitly excludes Provided Equipment raids from Investigation progress. Use your own equipment when an Investigation is the reason you are heading out.
Provided Equipment still has a place when you want to learn without putting your stored kit on the line. Just separate practice from that particular progression task. You do not need to throw your best weapon into the next raid; you need a loadout that qualifies for the job.
2. Equip an actual safe container
An empty safe container slot does not protect anything. Equip a container, then place eligible valuables inside it. Items left in your ordinary backpack do not gain protection because you have a container somewhere else in the loadout.
The distinction matters when a run goes bad. The official Steam description identifies safe container contents and personal items as exceptions to losing carried gear on death. Check where an important pickup actually landed before taking another fight. The container is limited space, not insurance for the whole bag.

3. Learn a location in Isolated raids
Choose Isolated when you want to learn routes and enemy behavior without adding hostile players to the lesson. Open raids bring PvPvE into the mix. Know which mode you selected before treating another armed figure as background scenery.
Isolated still has enemies, and going alone does not make them harmless. The official FAQ warns that solo play is harder than co-op. Use a squad if you need support; this is a way to remove player opposition, not a promise of an easy extraction.
Get the loadout ready
4. Refill the kit, not just the backpack
Use the inventory checks above the Body Sleeve before deploying. Look at ammunition, armor condition and medical supplies. Owning spare ammo or a medical item is not the same as leaving with everything ready to use.
Medkits need charges. The launch update added Medications and a recharge button on the medkit, so refill it before leaving rather than discovering the shortage while hurt. Make this the final check after changing equipment; a familiar weapon does not tell you whether the rest of the loadout is ready.
5. Save a loadout you can afford to replace
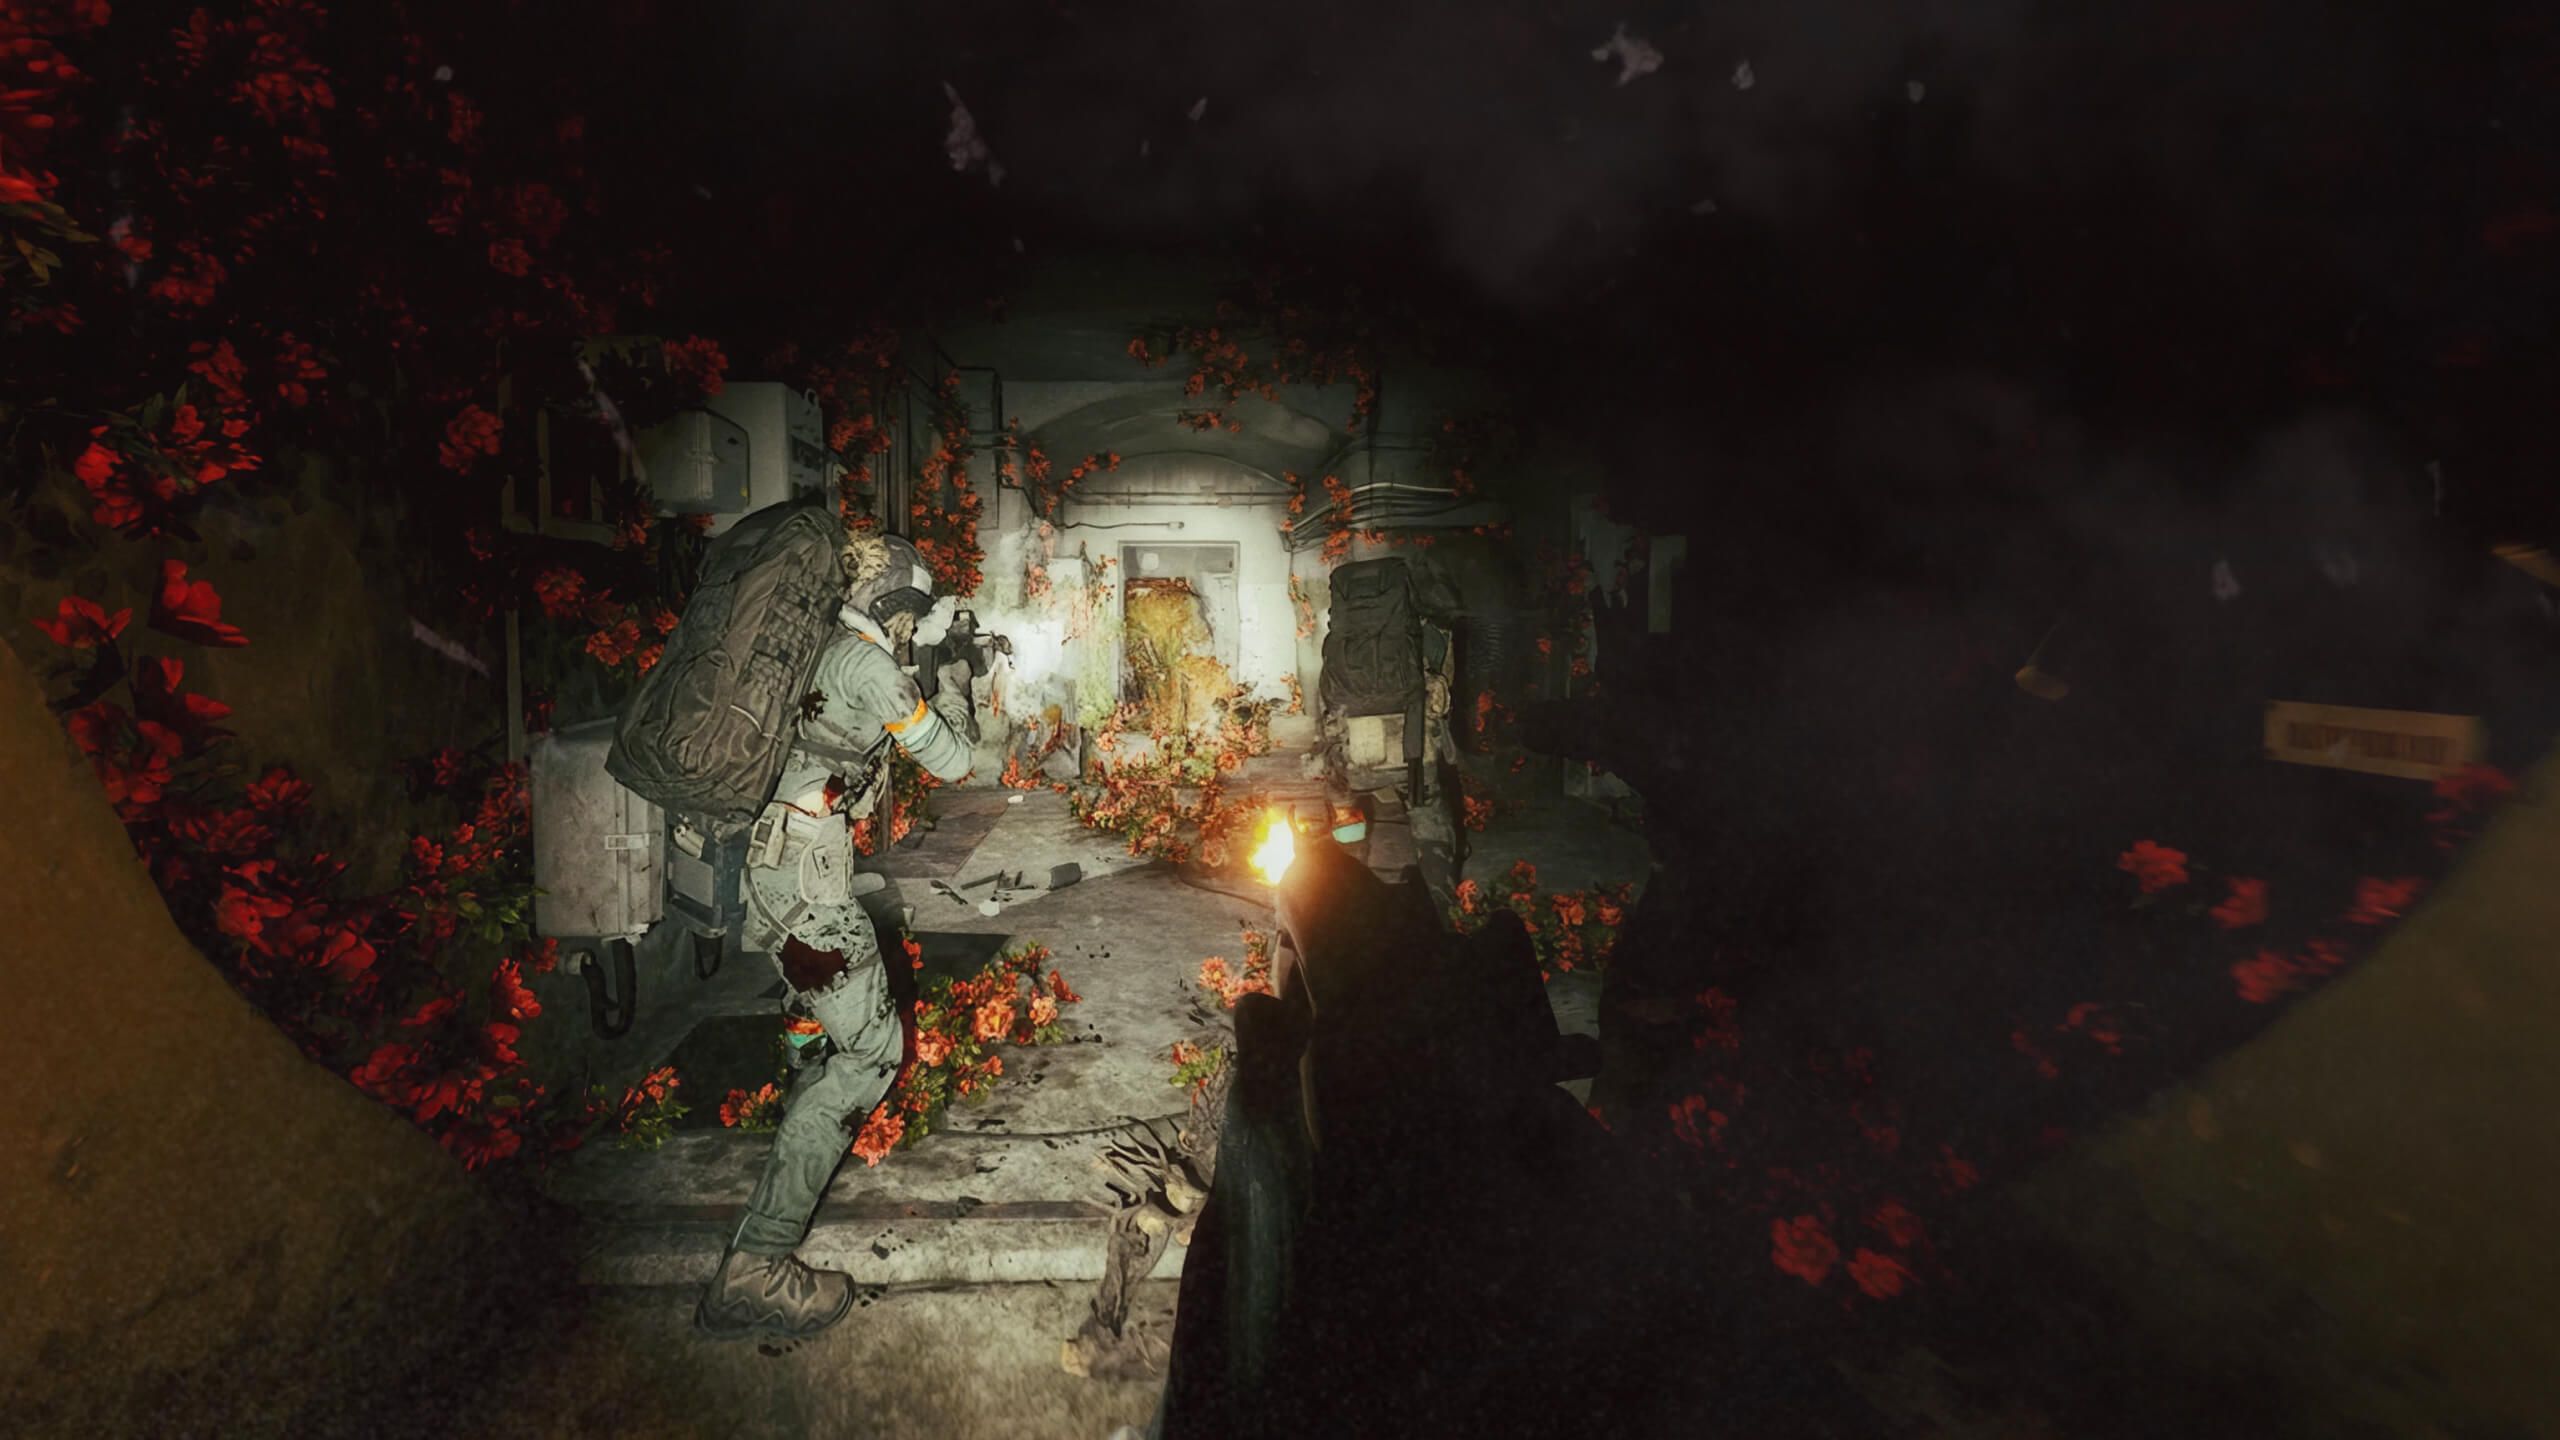
Once a basic kit works for you, save it as a gear set. Loading that set makes rebuilding after a death less fiddly than selecting every item again. Keep it practical: a repeatable kit is more useful here than a shopping list built around your most expensive finds.
Still inspect the result before deploying. A saved set is a convenience, not free replacement equipment or proof that your ammo and medical supplies are ready. Treat it as the starting point for check four.
Sort the haul before spending it
6. Check monster remains before refining them
Set monster remains aside while you inspect your next Monolith requirement, active Investigations and useful fusion recipes. Those items can be needed for progression or crafting. Refining the entire pile first can leave you hunting for something you had five minutes ago.
You do not need to keep every object forever. The useful habit is checking the requirements you can currently see, reserving what they need, and only then deciding which leftovers to break down.
7. Read the Refiner's separate payouts
The Refiner's total value is not a promise of that many credits. Its return can include credits, Active Matter and chronotraces. Read the individual amounts before confirming, especially if you are trying to fund a specific purchase.
A large combined number can make a pile look more useful to your immediate plan than it is. If the item you want costs credits, compare that cost with the credit return. The other resources still matter; they just do not turn the total into spending money.
8. Use the current Fusion tab
If an older guide sends you looking for a toggle on the blueprint screen, stop hunting. The September 26 update moved fusion recipes into a separate Workshop tab and removed that toggle.
That update also added a partial Active Matter cost to fusion. Check the displayed ingredients and cost before committing resources. Keep the older guide's explanation of the system where it still applies, but follow the current menu for what the recipe will actually take.
Official launch update and inventory changes