
Stop Playing Horde Siege Like Twelve Solo Players
Eight early access Horde Siege habits for matching difficulty, coordinating shared Energy, carrying equipment, handling bosses and surviving extraction.
Horde Siege puts twelve players on one battlefield, but it does not turn them into one automatic team. Three squads of four arrive with separate primary objectives, share the larger fight, and eventually need to survive a final push to extraction. The mode gives everyone enough firepower to look independent right up until a boss, bad Energy spend, or empty landing zone proves otherwise.
This is early access advice, not a finished launch meta. Premium Edition access began October 1, while the public release is October 6. The Coalition also raised Horde Siege difficulty, equipment prices, and Squad Perk costs after the beta. These eight habits focus on decisions that still matter when the numbers change: choosing a fair difficulty, spending Energy together, carrying useful equipment forward, and treating extraction as another fight.
1. Match the difficulty to the class
Do not pick Commander because the reward column looks better. The launch tuning increased the difficulty of every Invasion and made Commander and Allfather tougher, while reducing some Weapon Part rewards. A low-level class without its useful mods can spend the whole run getting picked up instead of contributing.
Start with Onboarding, Rookie, or Infantry until the class has the weapons, armor mods, and basic rhythm needed for harder runs. Dovaz recommends waiting until around class level 10 before treating Infantry as comfortable, then moving up only when the squad can finish objectives without constant emergency revives. The exact breakpoint will vary by class and group. The useful rule is simpler: raise the difficulty after the current one becomes controlled, not before.
2. Decide Energy purchases out loud
Energy enters a shared squad pool, but each player sees and buys personal options at Supply Caches. That creates an easy failure: four people can spend toward four private plans while the squad still lacks the perk, weapon, or defense the next objective needs.
Call the purchase before making it. One player can save for a Squad Perk upgrade while another covers a sentry, decoy, or weapon change. The official multiplayer breakdown says Squad Perks affect the whole squad, and Dovaz notes that teammates can split the cost of progressing those upgrades. Energy is easy to earn. Replacing it after three overlapping purchases is not.
3. Bring jobs, not four copies
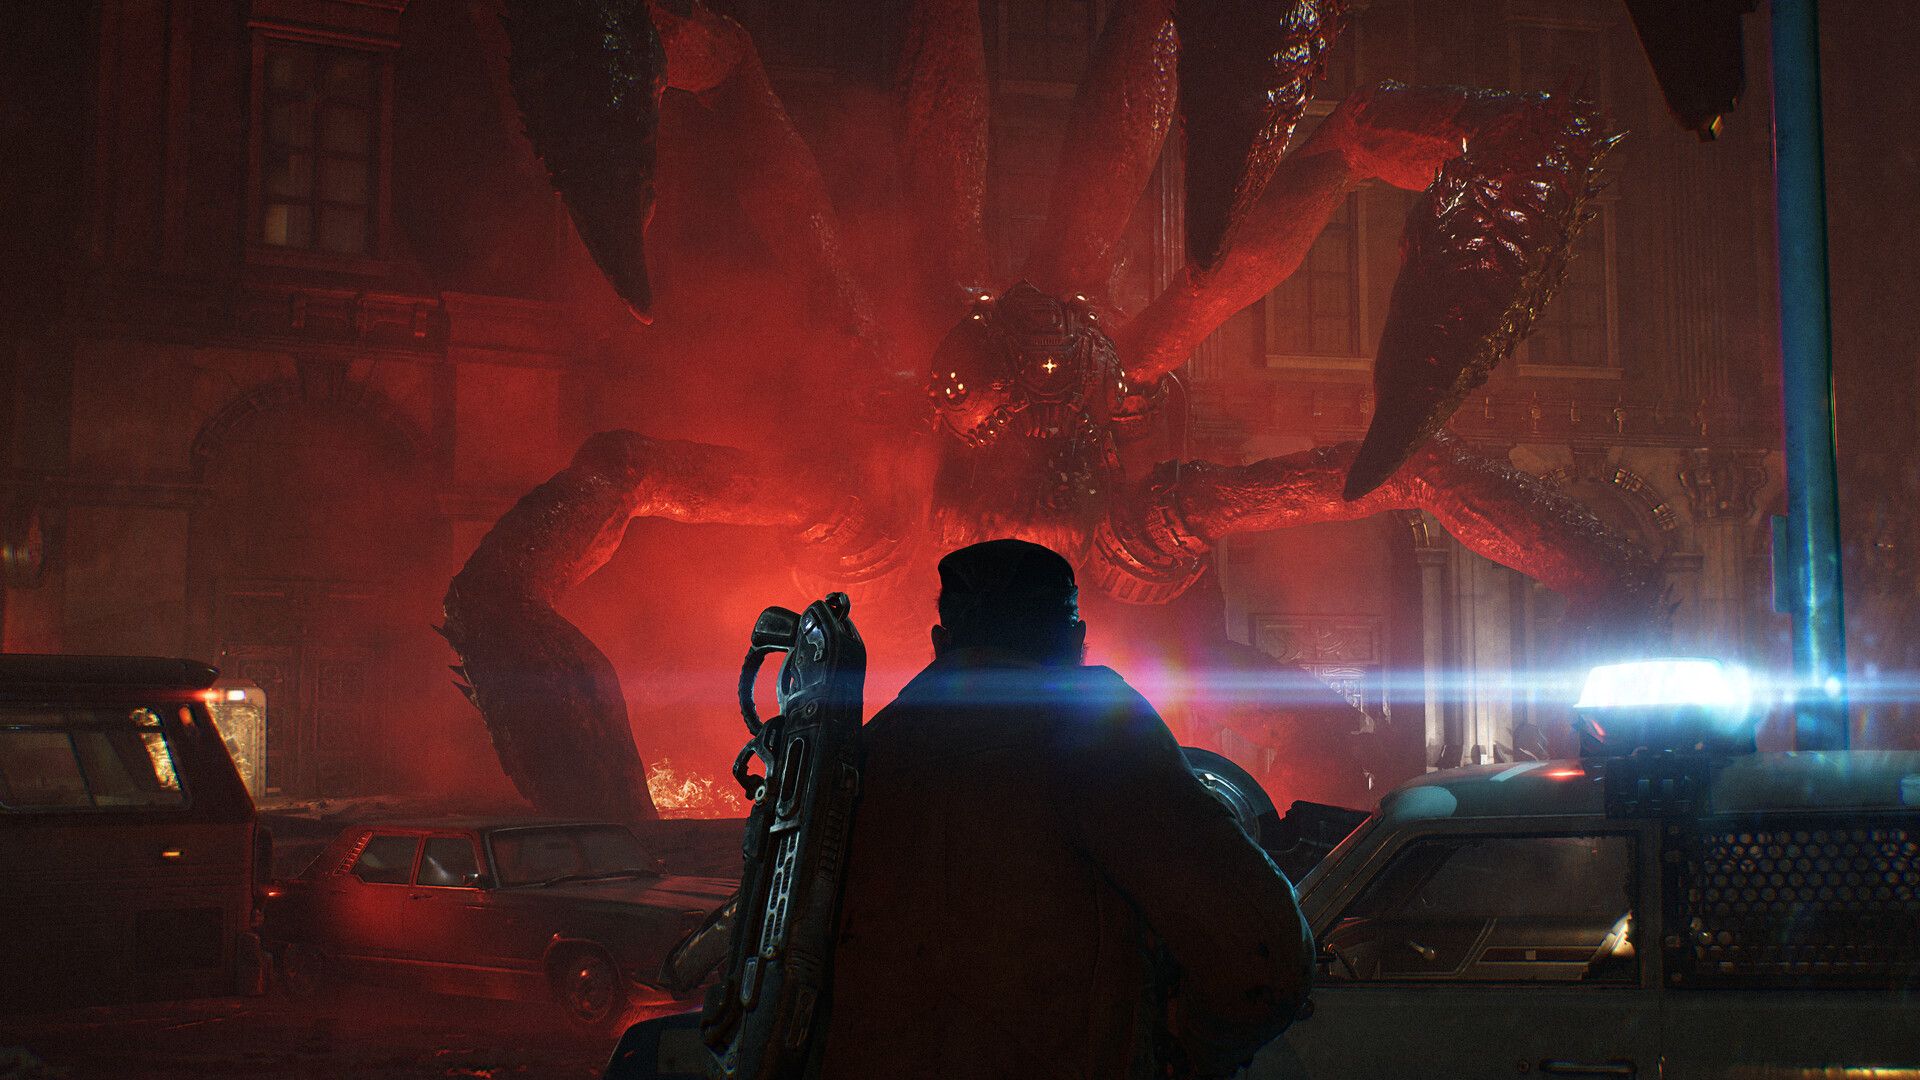
Assault can break a line, Breacher can survive close pressure, Marksman can reveal and punish targets, and Medic can heal or revive a squad with stim. A four-player group is stronger when those jobs answer different parts of the same fight instead of everyone chasing the same damage number.
There is a real launch-week disagreement here. LuckyEz recommends stacking Medics for current Commander runs because the new damage is brutal. That can be a sensible recovery plan for a prepared group. It should not become a universal rule for every difficulty. Start with a mix that can control space, reach weak points, and recover mistakes. Add extra Medic support when the chosen difficulty is producing more downs than the squad can manage.
4. Carry equipment to the next fight
Defensive equipment is not nailed to the floor. Sentries and decoys can be picked up after deployment and moved toward the next objective. Leaving them behind throws away remaining ammo, health, and the Energy already spent.
Use a decoy on the route between the enemy spawn and the position being defended, then place a turret where it can punish the enemies pulled toward it. When the objective ends, check the equipment before following the marker. Moving a healthy decoy and a loaded turret is cheaper than buying the same answer again at the next Supply Cache.
5. Close E-holes to buy time
Grenades and other explosives can close an E-hole while enemies are still climbing out. The Gut Puncher is useful here because its remote detonation gives the squad another way to shut the opening without spending every frag.
Do not mistake that for deleting the rest of the wave. Dovaz says closing one hole appears to move later spawns farther away rather than lowering the total enemy count. That is still valuable. More distance creates reload time, revive space, and a cleaner line of fire. Close the hole for breathing room, then keep watching the routes that remain.
6. Make ammo crates route anchors
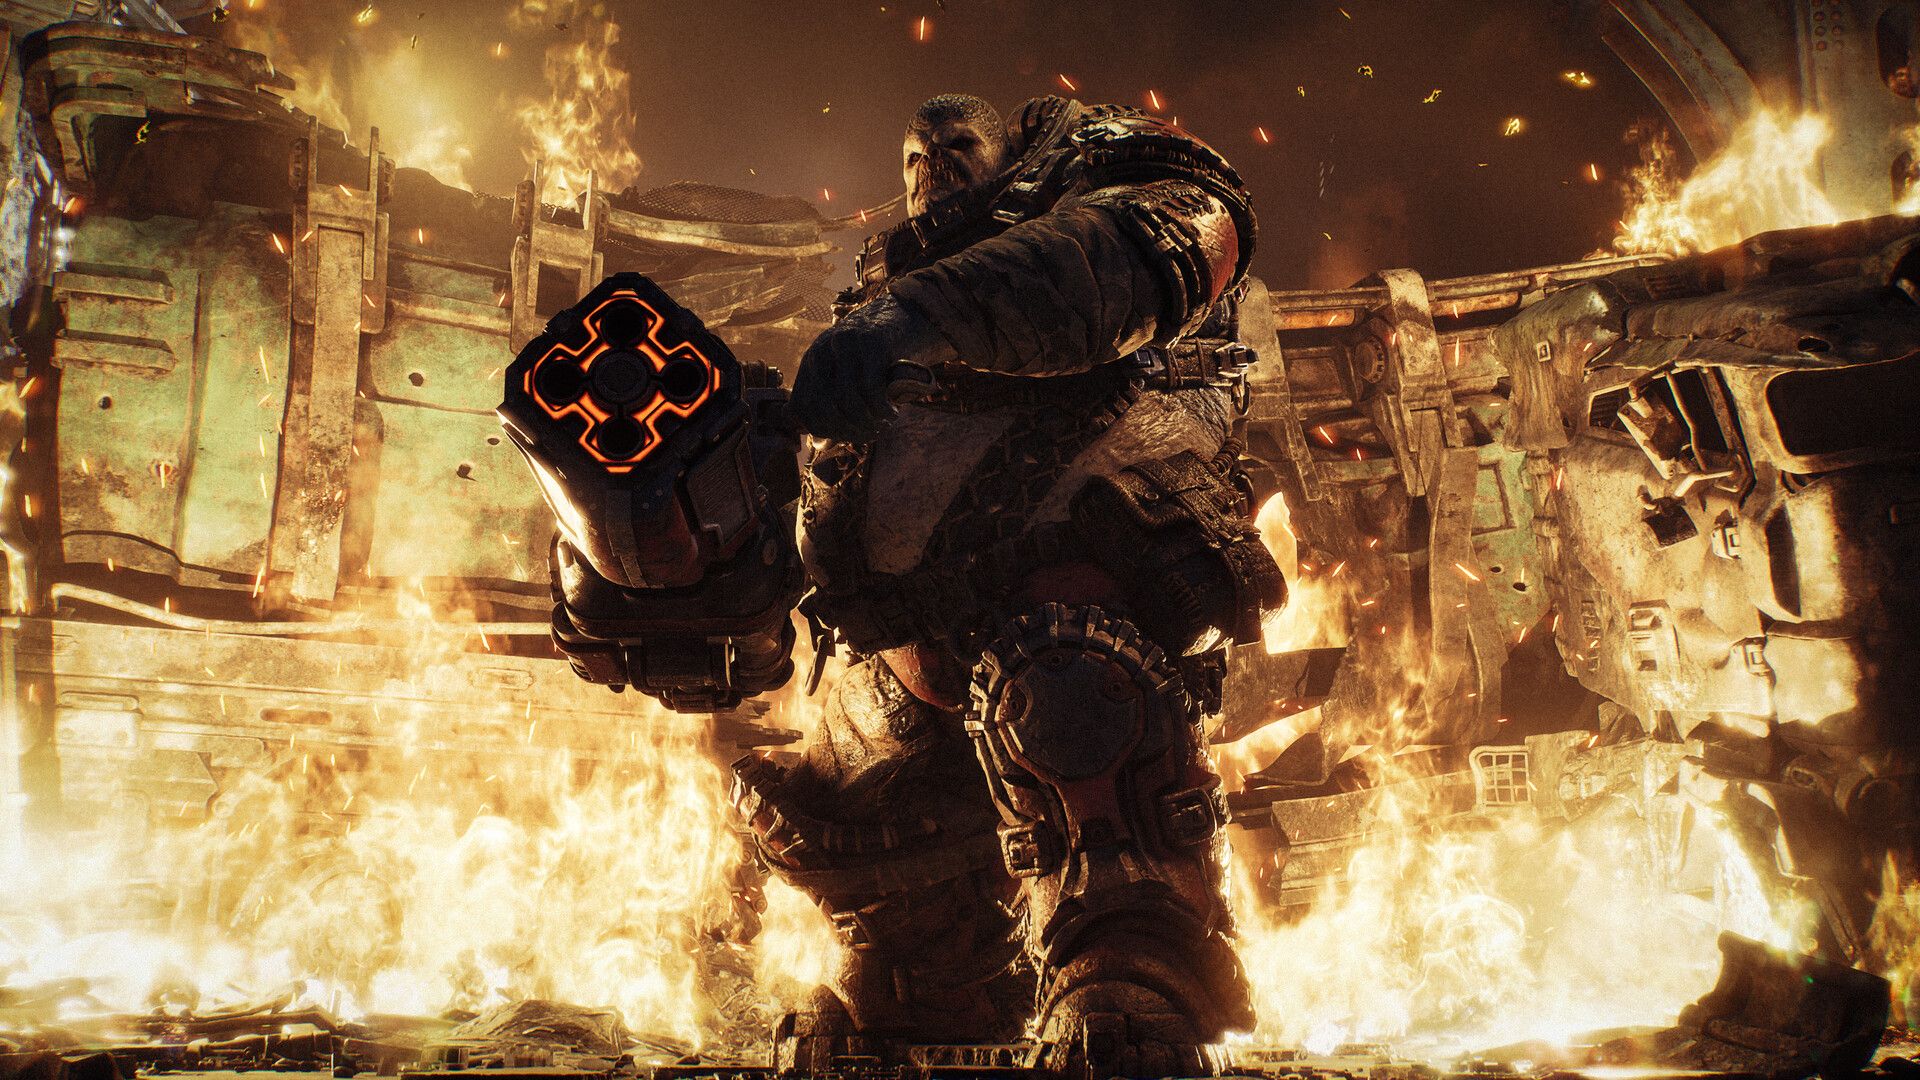
Ammo crates around the map can repeatedly refill weapons that are not classed as Heavy. That includes valuable specialist guns such as the Longshot, Incinerator, and grenade launcher. It does not refill Heavy weapons such as the Boomshot.
Mark a crate near the objective and cycle through it before the pressure peaks. This keeps the squad's normal weapons working without wasting Energy on panic replacements. Heavy ammo still needs restraint. Rip a Heavy from a turret or pick one up when the fight calls for it, but do not burn its limited supply on targets the regular kit can handle.
7. Turn bosses into twelve-player problems
Public events and large bosses are where the other squads stop being background noise. The official mode design allows squads to cross paths and help with emergent challenges, and the launch build increased Invasion difficulty. When a Corpser, Brumak, or another event target appears, four players may not be enough to finish it cleanly before the mission timer becomes the next enemy.
Use the health bar setting for large enemies so the squad can see when a Boomer-class target is ready for a chainsaw execution. Call weak points instead of spreading fire across armor. For a Corpser, group the blast-charge throws into the same retreat window so the team does not repeat the damage phase more times than necessary. If another squad is already committed, help finish the event before running past it. The next rescue may be yours.
8. Clear extraction before boarding
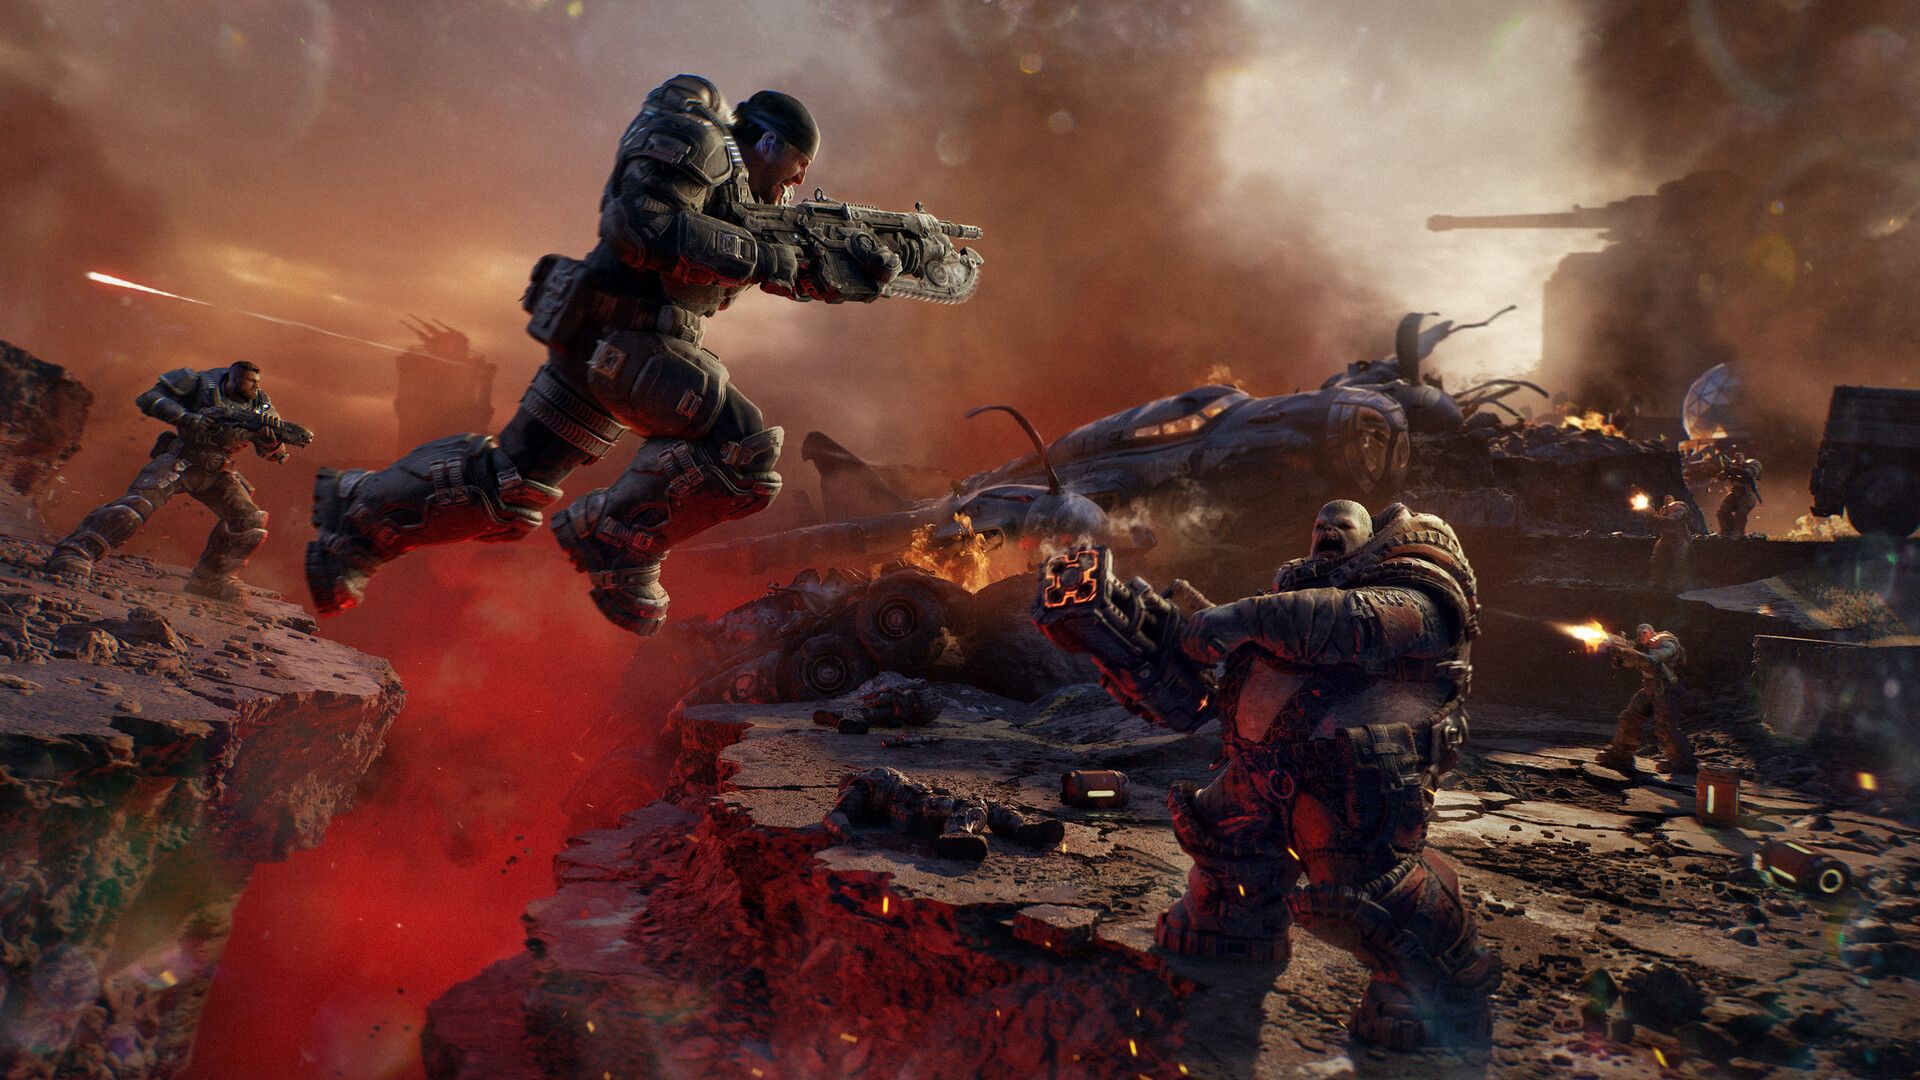
Reaching the landing zone does not finish the run. The squad still has to clear the area, survive the last rush, and get onto the Raven. Blue Thunder Gaming's walkthrough shows how quickly the final zone fills, while LuckyEz's launch footage ends with a failed extraction after a long Commander run.
Reload before entering the zone, carry the deployables that still work, and save a recovery tool for the final push. One player sprinting to the Raven while the rest are down is not a plan. Board when the route is controlled and the squad can cover the same exit.
The rule behind all eight
Horde Siege rewards individual shooting, but its expensive decisions are collective. Difficulty determines how many mistakes the squad can survive. Energy purchases decide which tools exist. Class choices decide who can answer pressure. Extraction decides whether any of the work counts.
Make those calls together. The mode already supplies twelve players. It still needs squads that behave like squads.
Official Gears of War: E-Day multiplayer deep dive
Official launch tuning and known issues
Official Xbox release and platform details