
Silksong Tools: Build Around the Crest Before the Combo
Build better Silksong loadouts by choosing the crest first, matching slot colors, budgeting shell shard reloads and pairing tools around one job.
Silksong makes tools look like a shopping problem. They are really a loadout problem. A strong tool can still be a bad choice when the equipped crest has the wrong slot color, an awkward attack arc, or a shell shard bill that the next bench will quietly collect.
The useful order is crest, problem, then tool. Choose the moveset Hornet can control, decide what the next route or boss is asking for, and only then fill the slots. These six rules keep the system practical without pretending there is one best setup for all of Pharloom.
Pick the moveset before the slots
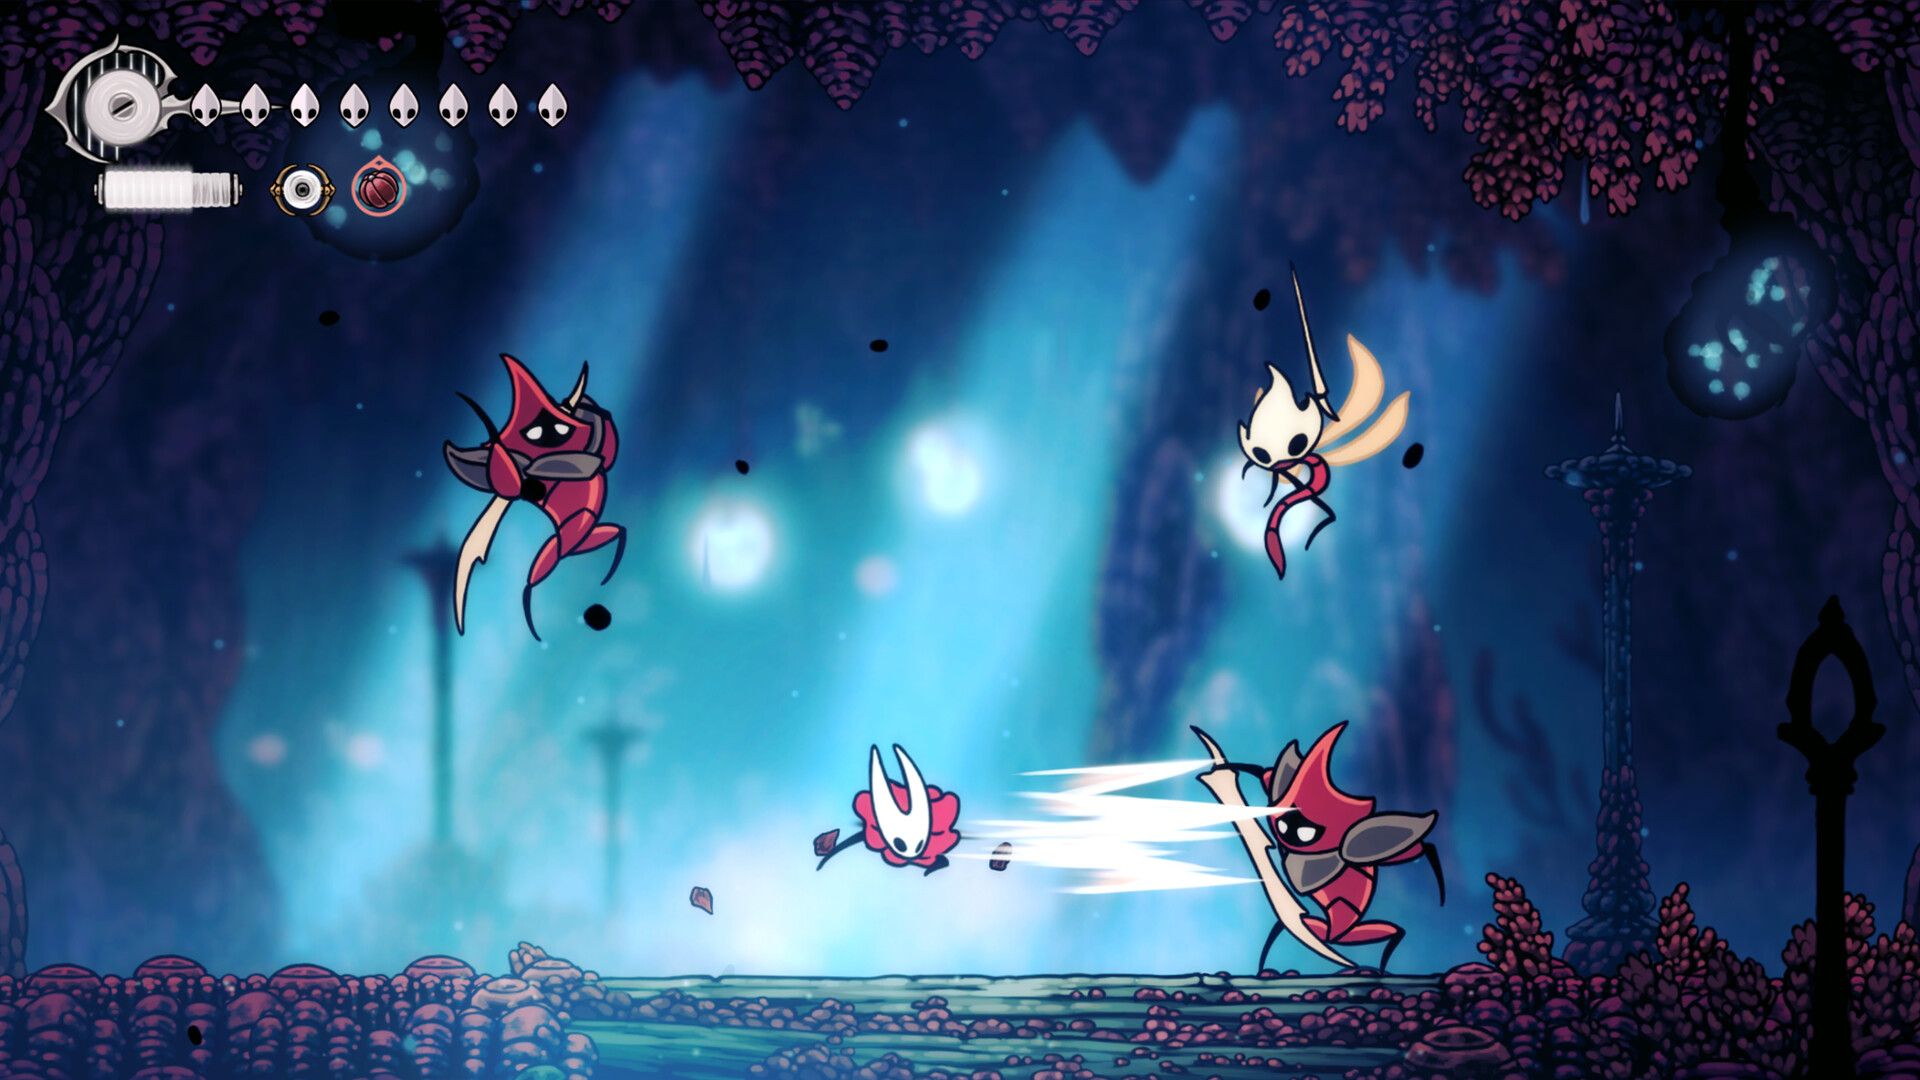
Crests do more than hold tools. They change Hornet's normal attacks, running strike, aerial attack, movement feel, and a unique passive. A crest with three red slots is not automatically an upgrade if its attack arc keeps missing the enemy that is already giving you trouble.
Test the basic slash, downward attack, running strike, and recovery at a bench before committing the rest of the build. The Reaper Crest is a clear example of why this matters: its wider downward attack can make pogoing and crowded platform fights easier for players who dislike the Hunter Crest's diagonal stab. That does not make Reaper universally best. It makes it better for a specific control problem.
Let the colors set the limits
Every crest offers its own mix of red, blue, and yellow slots. Red tools are active weapons and traps. Blue tools usually change defense or another passive behavior. Yellow tools cover utility and exploration. A favorite tool does nothing when the current crest cannot equip its color.
Start with one job for each available slot. A red slot might provide ranged damage for a boss that will not stay near the needle. A blue slot might protect a risky bind. A yellow slot might keep the compass equipped during an unfamiliar route. Forcing a copied build onto the wrong crest only produces a half-finished version of somebody else's plan.
Budget the bench reload
Red tools spend charges, and resting at a bench restores those charges with shell shards. That makes the bench a bill as well as a checkpoint. Burning every pin and trap on ordinary enemies can leave the same loadout starved when a mandatory fight arrives.
Use red tools when they remove real pressure: a dangerous ranged enemy, a crowded room, or a boss opening that is too short for a safe needle combo. IGN also notes that tools such as the Straight Pin can deal damage without spending silk, which preserves the resource Hornet shares between healing and Silk Skills. The trade is simple. You saved silk now, but the next reload still costs shards.
Capacity is not free damage
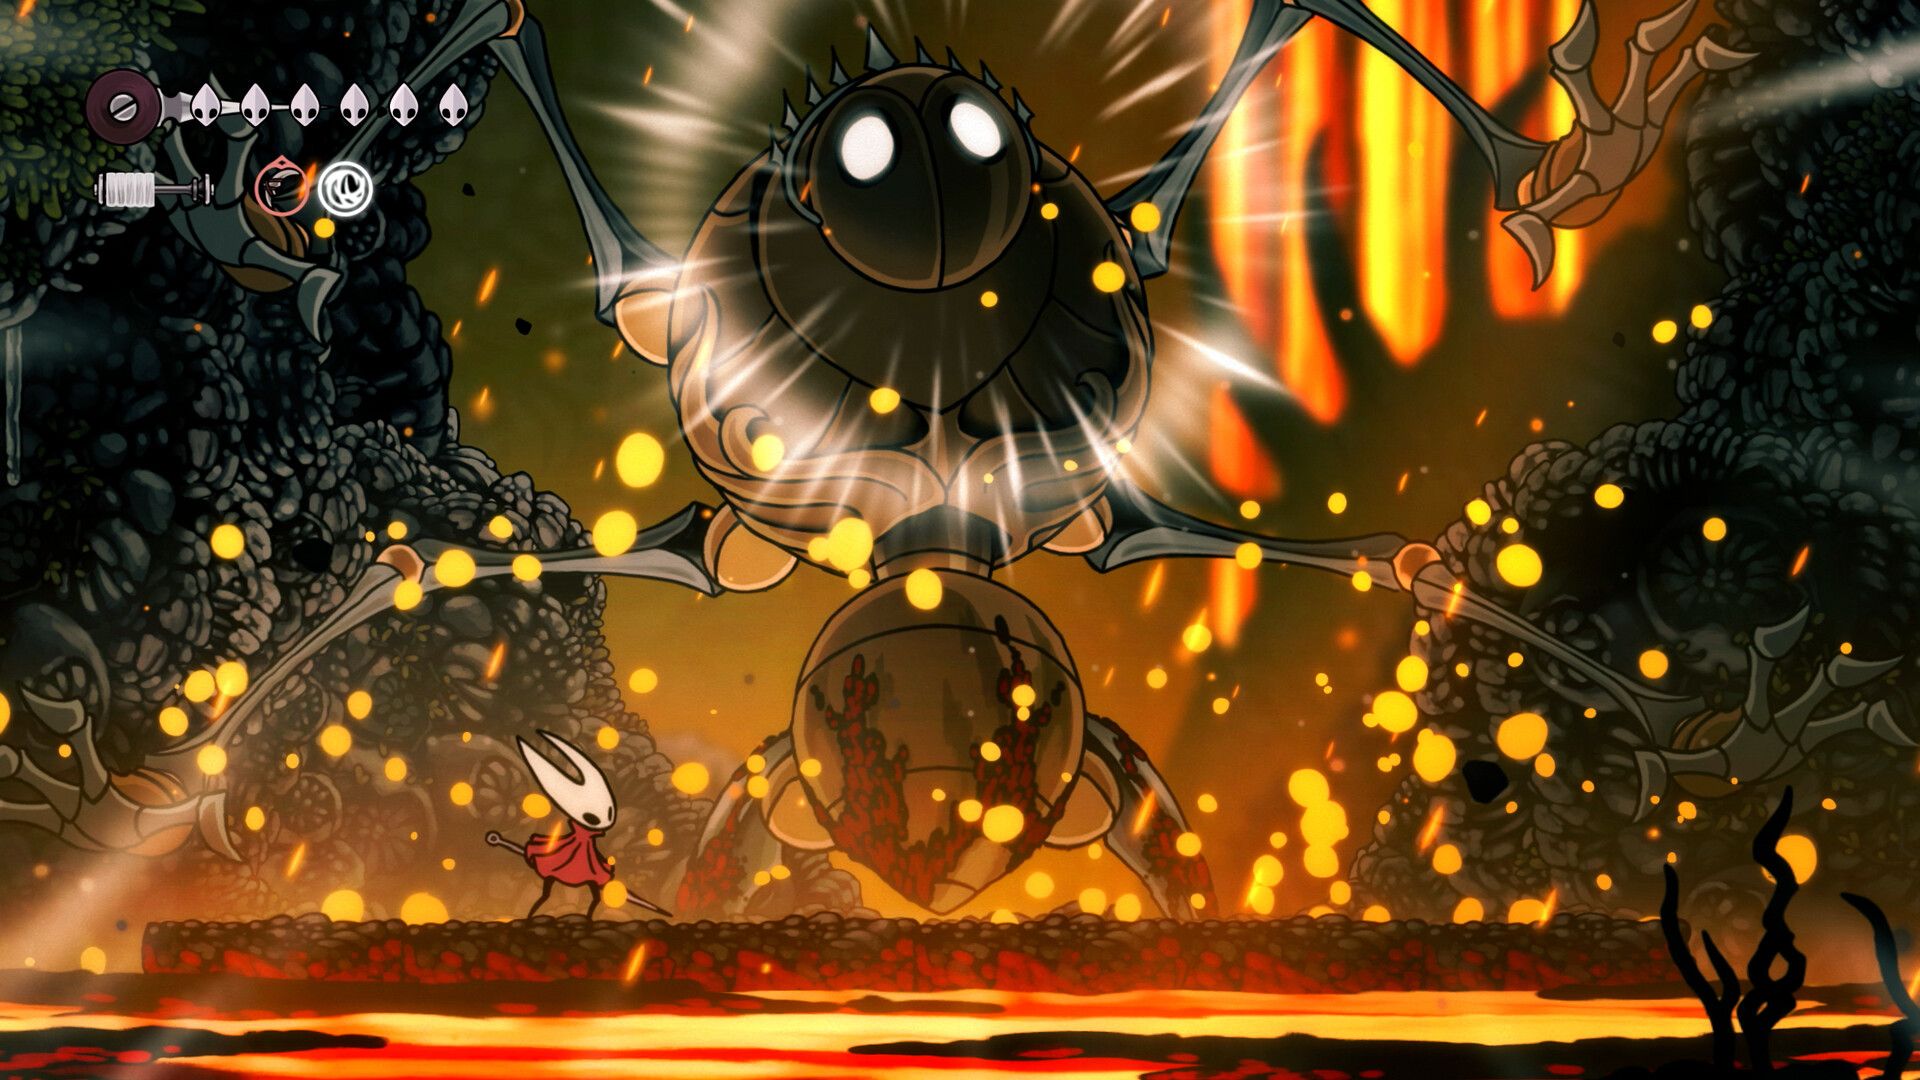
Tool Pouches increase how many uses a red tool can hold. That is useful for a long boss attempt or a route with several forced fights, but the larger magazine can also make a full bench refill more expensive if every charge was spent.
Do not read a bigger counter as permission to throw tools at every moving bug. Carry the extra capacity when the encounter can actually use it. Crafting Kits solve a different problem by increasing tool strength. More charges extend the plan. Stronger charges make each opening count. Know which failure you are fixing before chasing either upgrade.
Spend Memory Lockets with a plan
Memory Lockets open additional slots on a chosen crest. They are not just another collectible to spend the moment one appears. A new slot matters most on a crest whose movement and attacks already fit the player.
Keep a locket until the missing color or slot has a clear purpose. If a favored crest needs room for a defensive tool before a boss, that is a reason. Unlocking a slot because it is available is not. Stizzl's system guide and IGN both point to lockets as the way to expand a crest, while Boomstick Gaming shows why the choice is tied to moveset preference rather than a universal tier list.
Build a pair, not a pile
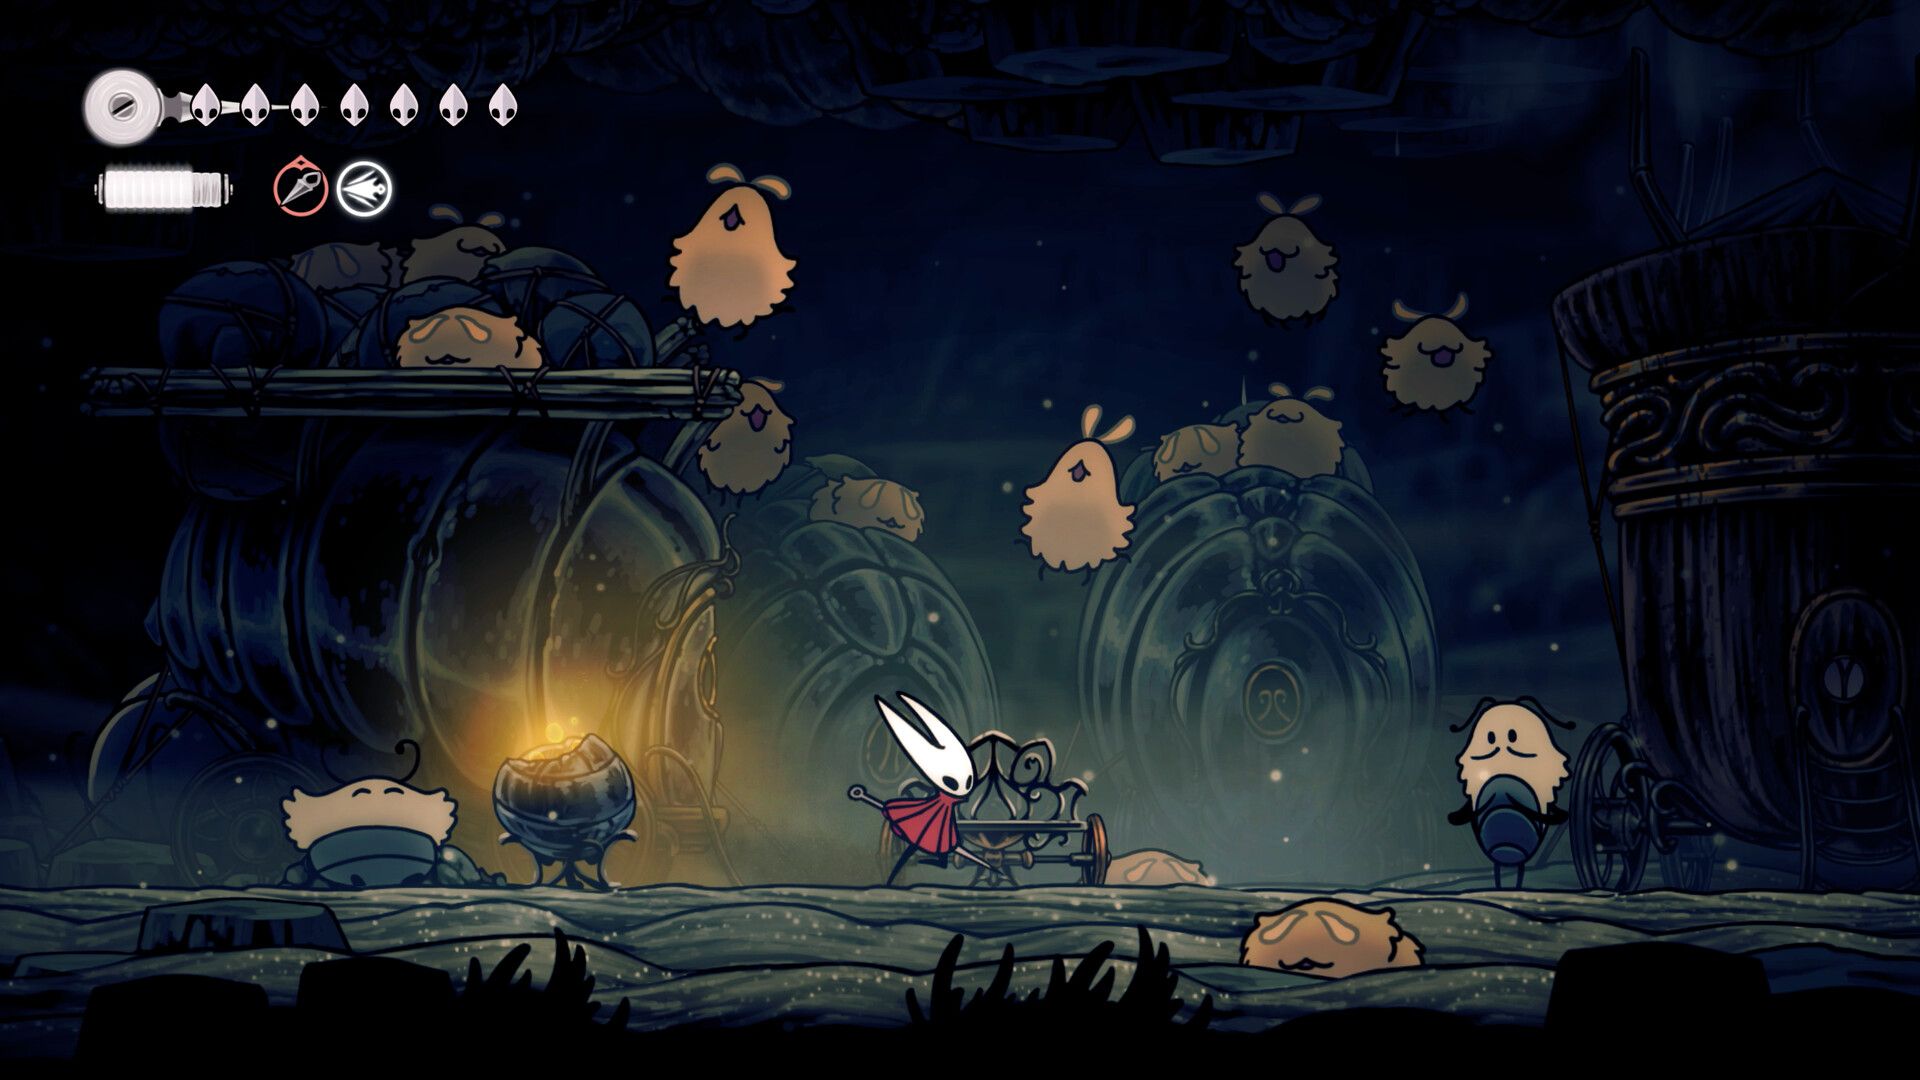
The strongest setups usually explain themselves in one sentence. Taunt pulls an enemy into a trap. Multi-Binder and Claw Mirrors turn a risky heal into a heavier counterattack. Polyp Pouch changes how damaging red tools apply venom. The point is not to memorize every late-game interaction. It is to give two slots one shared job.
Hidden combinations also come with limits. Bashrobe's testing found that some interactions depend on a specific crest or fail on the crest that looks like the obvious match. Treat creator testing as a lead, then check the current game build and the actual result at a safe bench before carrying the setup into a boss.
The bench check that keeps working
Before leaving a bench, ask three questions. Does this crest's moveset fit the next fight? Can every equipped color actually do a job there? Can the shell shard supply pay for the red tools being carried? If any answer is no, swap now.
Silksong does not need one permanent build. It needs a loadout that understands its own cost. Pick the crest first, solve one problem at a time, and let the tools support Hornet instead of turning the next rest into an invoice.
Official Hollow Knight: Silksong Steam page