
The Blood of Dawnwalker: 8 Tips That Actually Change Your Run
The parry input, missing active skill, costly early legendary and Infamy thresholds that are easy to overlook in The Blood of Dawnwalker.
“Remember to use your vampire powers” is not helping anybody. The useful advice is more particular: which input to delay, why a purchased skill is missing from your bar, and when a rare sword is a bad investment. These eight checks will save you some ugly fights and a fair bit of wasted money.
1. Hold guard early. Time the direction late.
You do not have to tap the block button at the last possible instant. Hold it while the enemy winds up, then press the direction matching the incoming strike just before it lands. That is the Perfect Block you are after. A correct directional block also avoids the stamina cost of a general, all-direction guard.
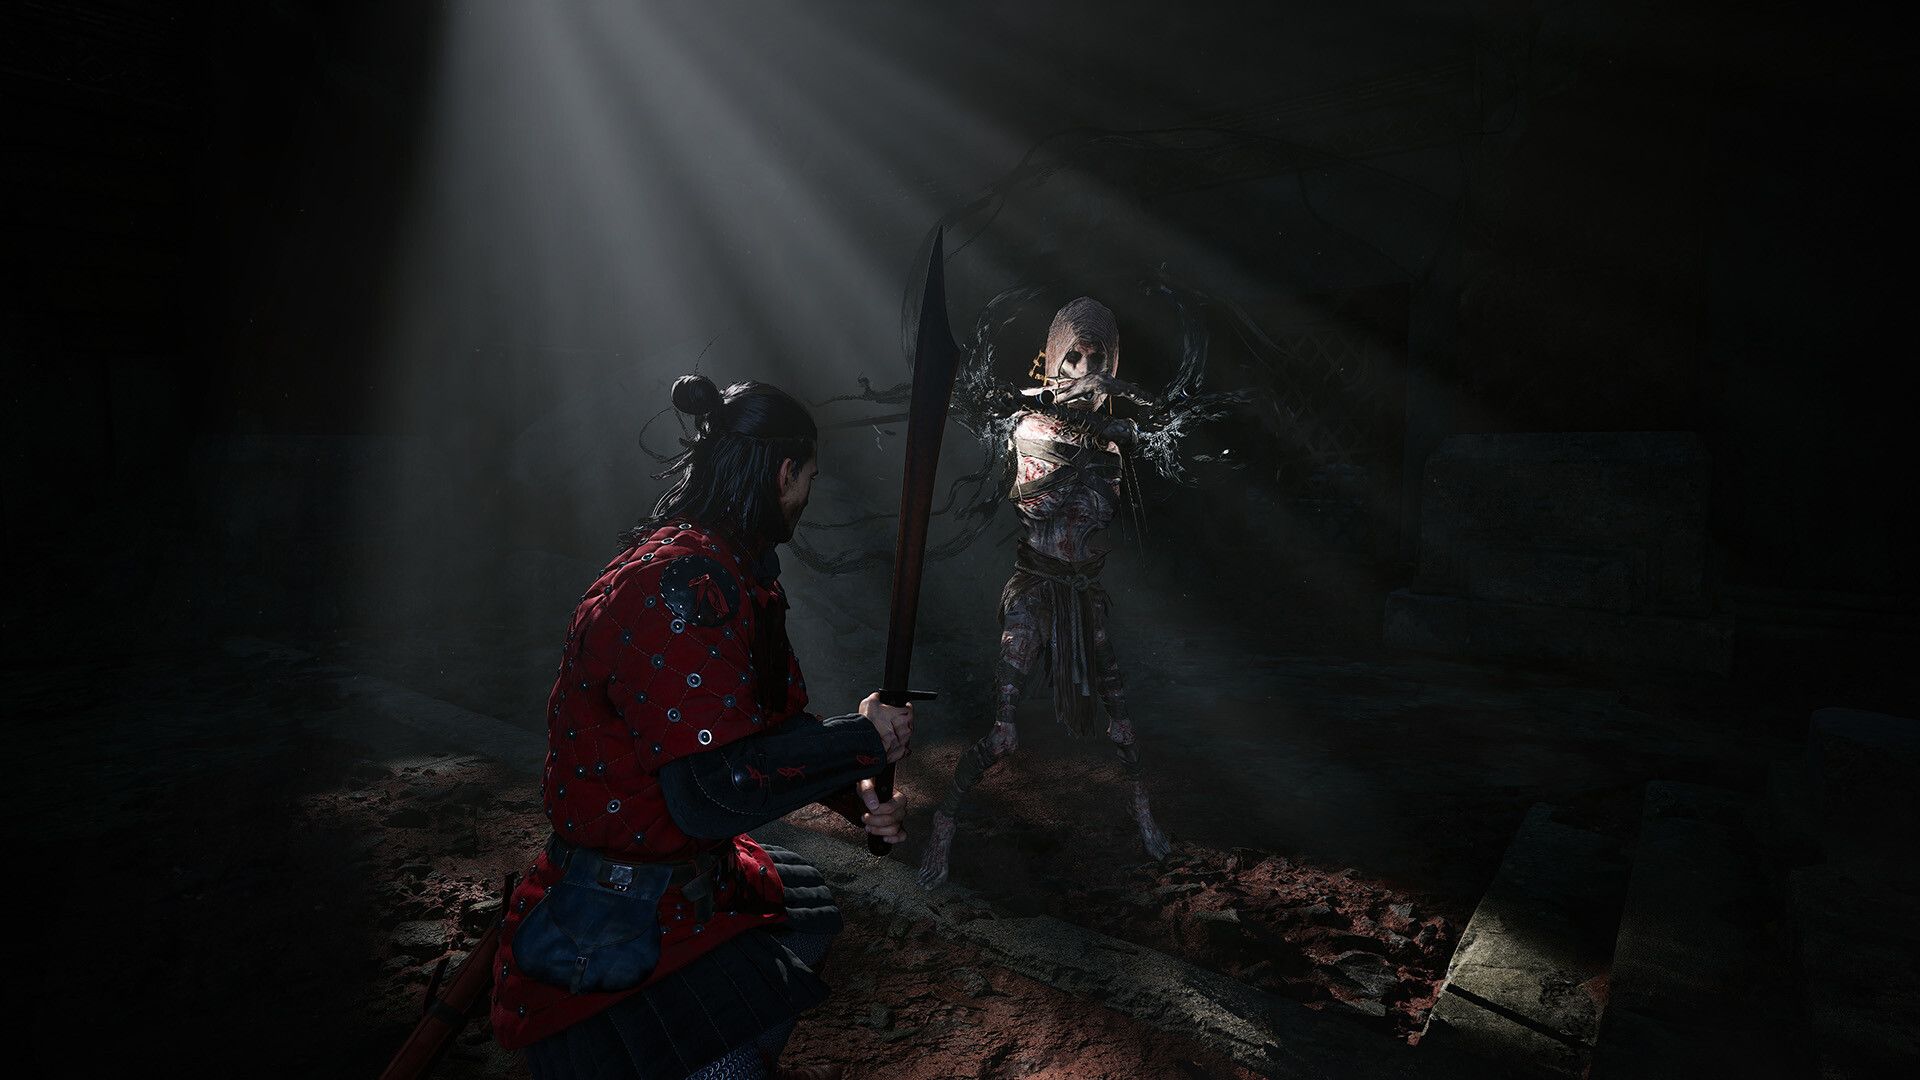
Get the sequence down against one enemy before trying it in a crowd. The Auto Block setting can make a missed direction fall back to ordinary guard while you learn, though that fallback still spends stamina. Buy Perfect Riposte when you can: after a Perfect Block, watch for the follow-up attack direction and answer it for a much nastier counter. The important timing is on the direction, not a desperate late press of the guard button.
2. Use Shadowstep in the fight, not just on the way there.
At night, Shadowstep can put Coen behind an enemy winding up a move you would rather not eat. It is an escape route and a new attack angle in one button press. Against some long boss windups, repositioning this way can even interrupt what the enemy was doing; do not treat that as a guarantee against every move.
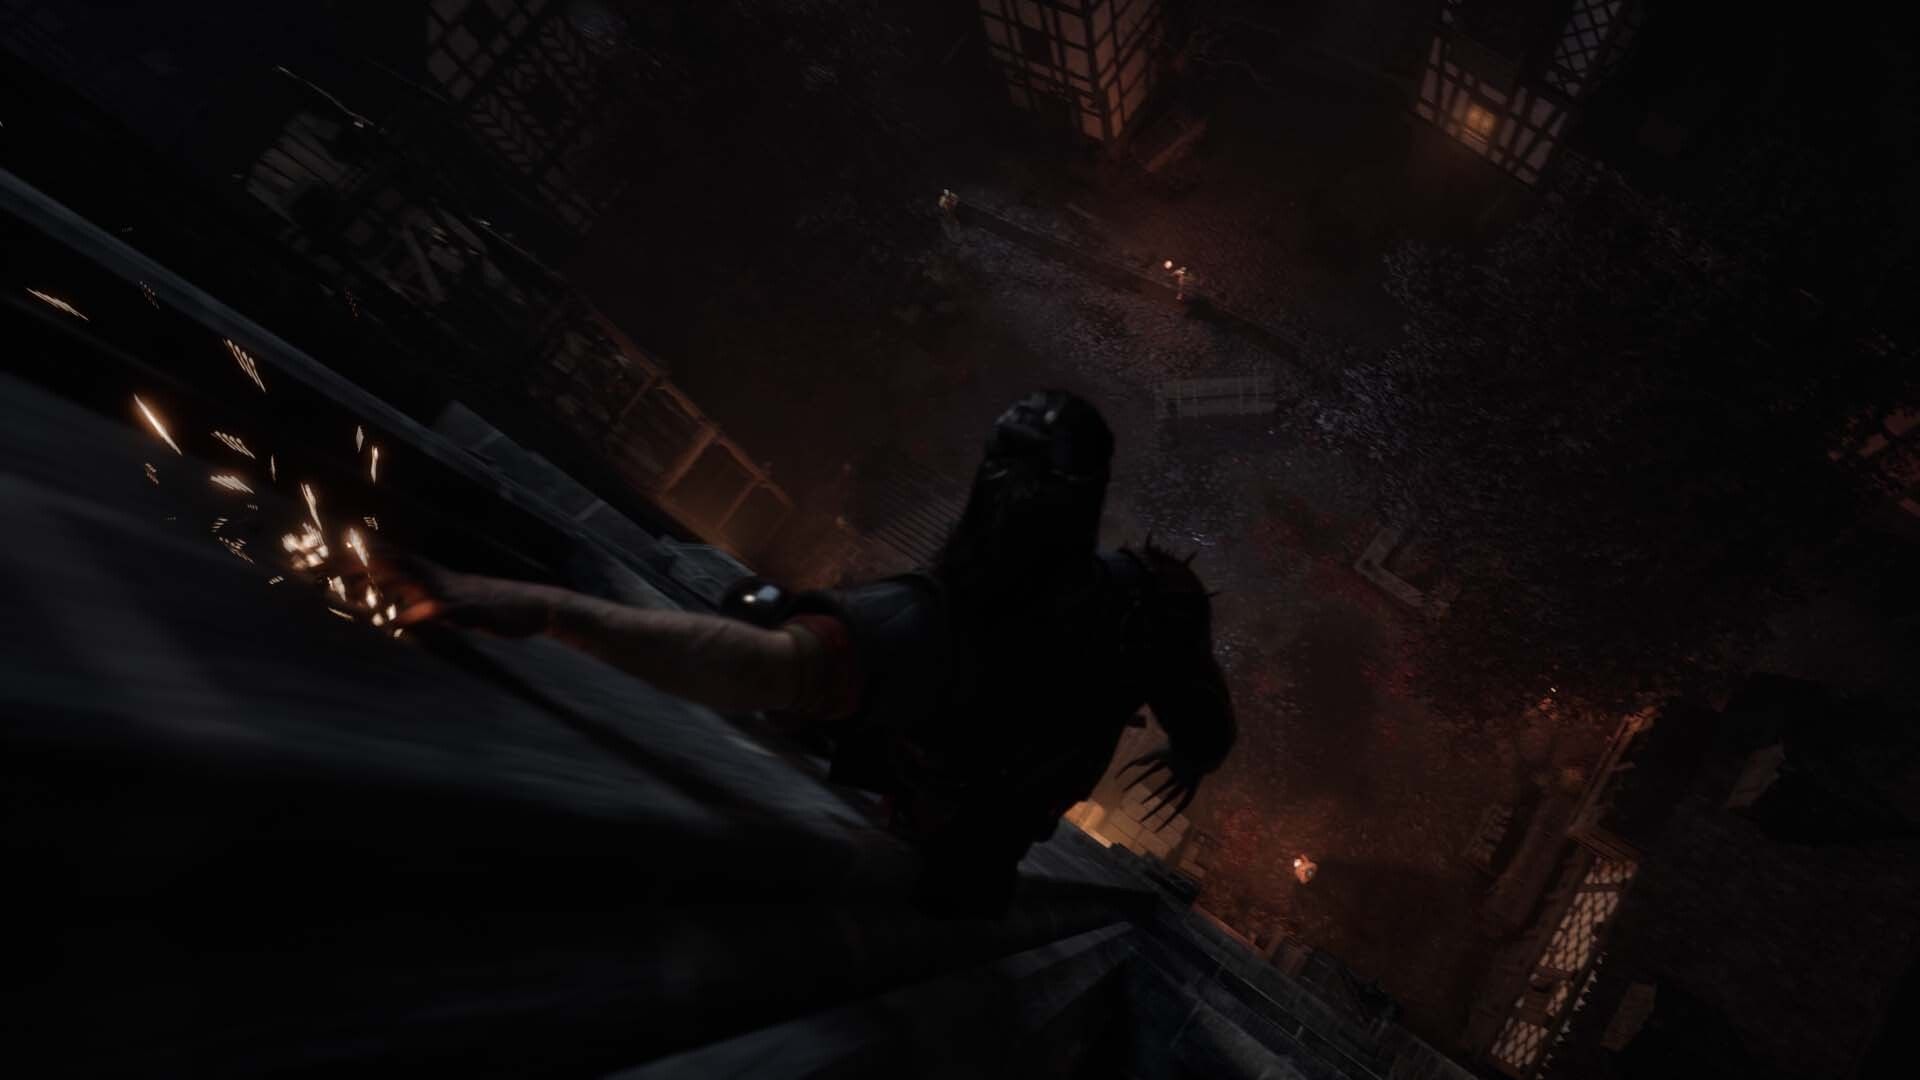
It costs stamina, so leave enough in the tank before the red warning appears. If you have spent the whole bar forcing attacks, knowing the escape exists will not save you.
3. Buying a skill does not put it on your bar.
If your new ability appears to do nothing, open the ability menu before assuming it is broken. Active skills have to be equipped, and each category has a limit on active slots. Check for the equipped mark; a point spent in the tree alone does not make the move usable. Some skills that sound like passive bonuses still take an active slot.

Then check the quickslots for both forms. Day and night have separate setups. Put shared Swordmastery moves in the same positions on each bar, so the button you reach for in a bad fight does not change at sunset. If you genuinely need more Witchcraft options equipped, Forbidden Sigils increases that category’s capacity; it does not make every purchased spell automatically active.
4. Stop waiting for the right manual to fall out of a random chest.
The sword move or Witchcraft ability you want may be locked behind a manual, not another level. For Swordmastery, search soldier camps and the relevant trainers. For Witchcraft, look at Ancient Circles and witch vendors. Vampire skills follow a different progression through corruption and blood, so grinding for a sword book will not solve that problem.

Finding a manual is only step one. Open the Manuals & Recipes inventory tab and read it; then take your skill point to a Shrine. Before burning a trip across the map, look for the book requirement in the skill tree and chase that source on purpose.
5. Your emergency heal needs a recipe and a quickslot.
Food is a weak panic button: its effect is reduced during combat. Crafted healing keeps its full effect, but you cannot dig through your inventory for it once the fight starts. Craft the ointment, put it on the bar, and actually check the bar before picking a hard encounter.

For an upgrade beyond the starting ointment, Anca at the Crossroads Inn can sell the Mending Ointment recipe after her quest. Read the recipe before you expect it to appear at the crafting station. At night, check the separate quickslot setup as well; a nicely stocked day bar does nothing for the blood vial you forgot to equip after dark.
6. A legendary found early can become an expensive souvenir.
Gear stats scale with the level at which you acquire the item, while upgrading a high-rarity piece can eat a lot of money and materials. That makes a detour to grab every famous weapon at a low level less clever than it sounds. Look at the actual stats and upgrade price before deciding you have found your forever sword.

There are exceptions worth chasing for a particular effect. The Kingslayer greatsword, found by the riverbank west of Svartrau, widens the Perfect Block window. If you are building around point 1, that benefit may justify the trip even when the raw damage number will eventually age out. Chase a useful property, not just a gold-colored name.
7. The white person icons are skill points in disguise.
“Person in Danger” encounters can look like map clutter when your quest log is already screaming. They reward skill points, and there are 14 of them. That is a meaningful way to unlock a move you actually want without committing to another long quest chain.

They are not a race against a hidden expiry timer, so mark one near your current route and handle it when convenient. Check the hourglass shown for the activity before starting rather than assuming every rescue costs the same amount of in-game time. If you need one more point for Perfect Riposte or a slot upgrade, these icons are worth a second look.
8. Do your Svartrau shopping before you pick a public war.
Infamy is not just a number that makes guards grumpy. The Court’s edicts change the city as your reputation rises: shop prices climb at Infamy levels 3 and 6, a curfew arrives at level 5, and the gates close at level 9. The edicts take effect as days pass, so you have some room to plan, but you should not pretend that city errands will feel the same afterward.

Buy the recipes and supplies you need, talk to merchants, and finish easy city business before stacking conspicuous Court disruptions. Closed gates are not a permanent lockout—you can still find a way in at night—but paying more and working around patrols for a shopping trip is an avoidable headache.