
Core Keeper Progression
From your first workshop to the Great Wall: the three required boss items, where to look, what to prepare and what to do when the next step will not unlock.
Start at the CoreBuild a workshop that supports each trip
Food, repairs and a Copper Workbench come before a long boss expedition.Click to collapse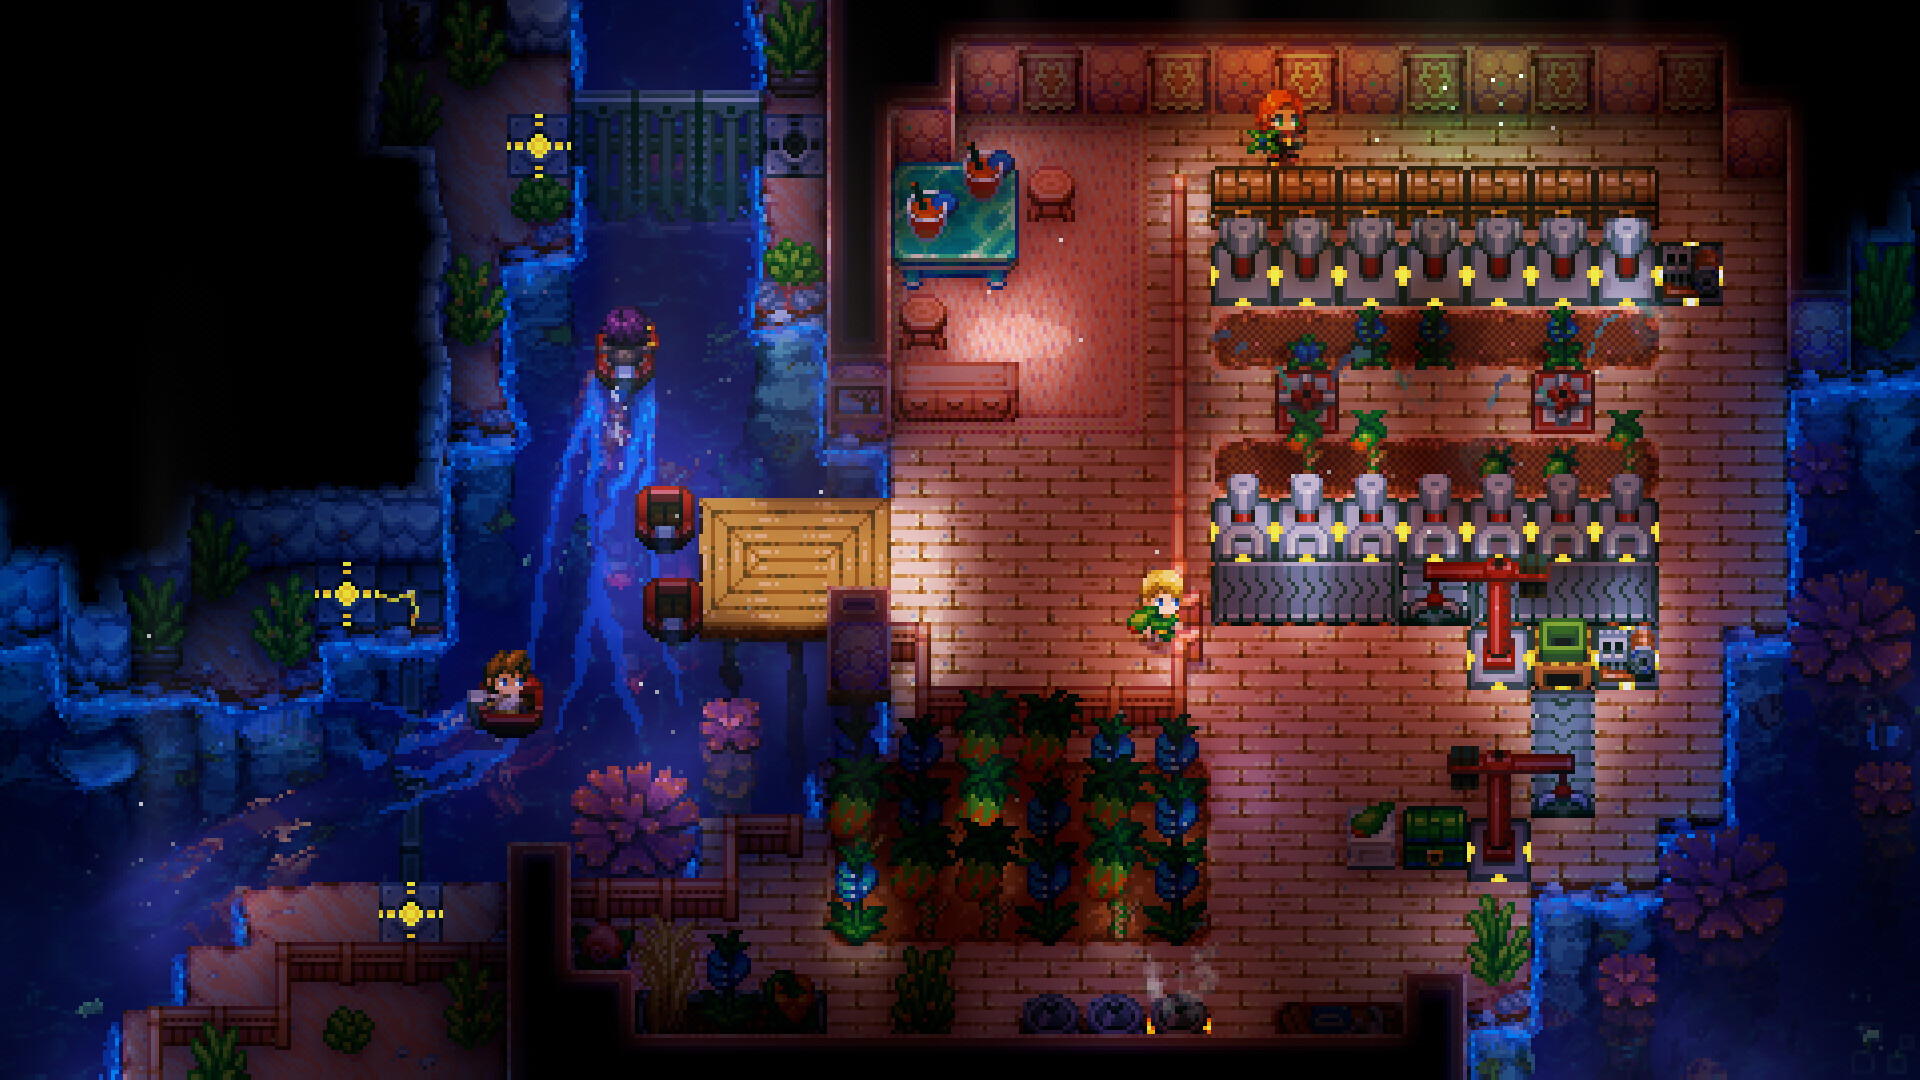
Set up before pushing outward
- Collect Wood and craft a Basic Workbench from 8 Wood in your inventory.
- Mine Copper Ore and smelt it in a Furnace; a Furnace costs 20 Dirt Blocks at the Basic Workbench.
- Build a Cooking Pot (2 Wood, 4 Copper Bars) and a Salvage and Repair Station (5 Wood, 5 Copper Bars).
- Make a Copper Workbench (8 Wood, 6 Copper Bars). Keep ordinary repair materials and a cooked-food stack at the base.
Ready to leave when
Your weapon and pickaxe are repaired, you have light and bridges, and you can replace the food you take. The next workbench does not replace every processing station: keep your Furnace, Cooking Pot and repair station available.
Near the starting areaGlurch: claim the first boss item
Follow the nearby tremors, make room to move, then place Glurch Eye in its statue.Click to collapse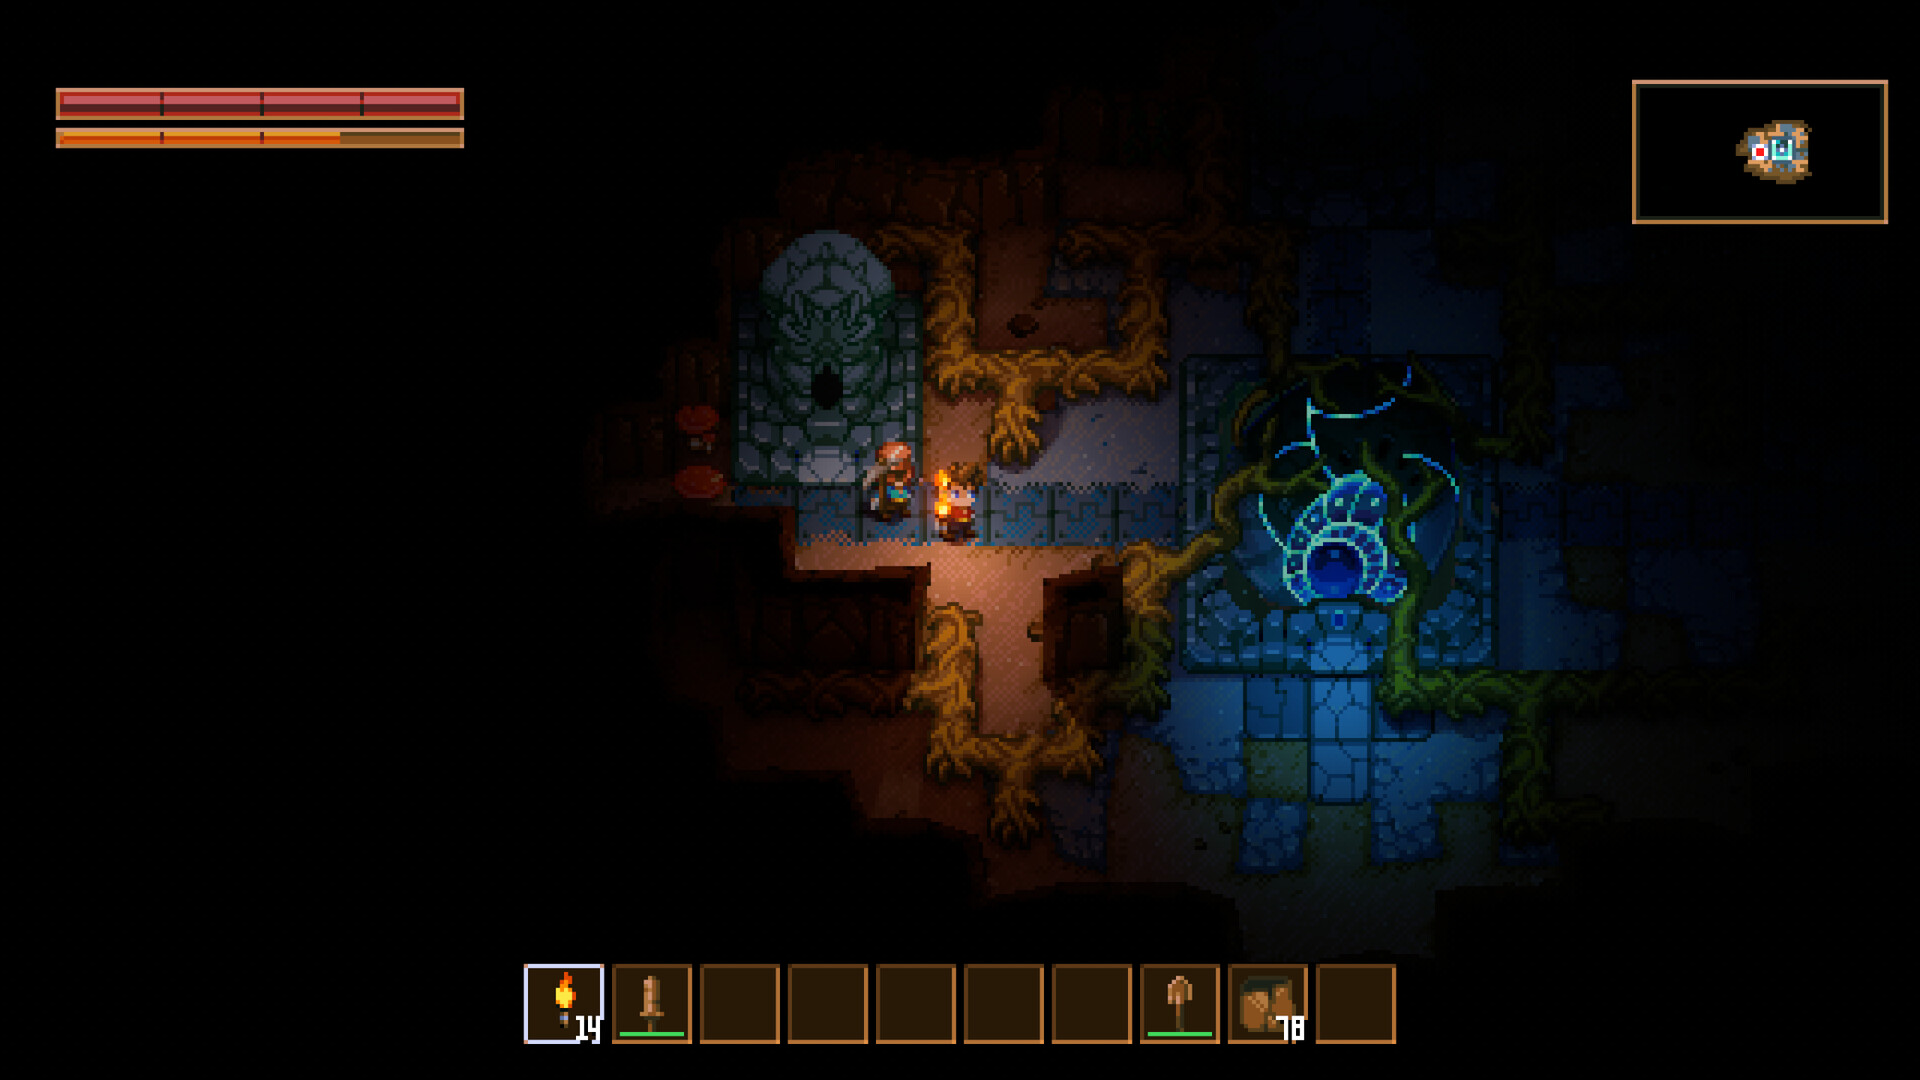
Find and prepare the fight
Glurch is close to the Core, at a randomized direction rather than a fixed map coordinate. Screen shake helps identify the area. Remove Ground Slime from the space you want to fight in so it does not slow your escape. Repair your gear and take cooked food before approaching.
What moves progression forward
- Dodge the jumps and leave yourself space when Glurch speeds up at low health.
- Collect Glurch Eye from the boss chest.
- Return to the Glurch statue beside the Core and insert the Eye. Defeating a boss without installing its item does not power that statue.
If the fight keeps resetting
Kiting too far from the spawn area lets Glurch return and heal. Clear a usable local fighting area rather than dragging the boss all the way to your workshop. There is no required single weapon class for this stage.
The circular slime trackGhorm: prepare for the moving target
Find the wide track in the inner biomes; defeating Ghorm provides Ghorm's Horn.Click to collapse
Locate the route
Ghorm circles the Core through the Clay Caves and Forgotten Ruins. Follow a route outward until you find the broad slime-covered track, then mark a safe approach on your map. Do not put a base or storage on that track: Ghorm destroys structures in its path.
Prepare for a different fight
A brief hit is not enough: Ghorm initially keeps circling and later turns to charge you. Bring a damage plan you can actually sustain, movement food and a repaired weapon. Spike traps are an available approach, but this route does not promise an exact trap count across equipment, difficulty and updates.
After the kill
Collect Ghorm's Horn and install it at the corresponding statue beside the Core. Keep the boss route marked for later visits instead of assuming every world has the same position.
Forgotten RuinsMalugaz: bring the correct summon
Craft the Skull of the Corrupted Shaman from 3 Crystal Skull Shards and finish both forms.Click to collapse
Reach the throne room
Look in the Forgotten Ruins for Malugaz's throne-room arena. Cavelings there can drop Crystal Skull Shards. With three shards, use them from a hotbar slot to create the Skull of the Corrupted Shaman; place that skull on the arena's central sigil.
Before using the summon
- Clear nearby enemies and obstacles so you are not fighting a dungeon pull at the same time.
- Repair your equipment and bring healing plus food; fire and a tight arena make an unprepared attempt expensive.
- Stay ready after the first health bar. Malugaz has a second form; the first defeat is not the end.
- Collect Stolen Crystal Heart after the full fight and install it in the third Core statue.
Old-guide trap
For current progression, the three statue items come from Glurch, Ghorm and Malugaz. Do not follow an Early Access route that sends you to the Hive Mother as the required third Core boss.
The first major gateWake the Core and open the Great Wall
Install all three boss items, speak to the Core, then interact with the wall.Click to collapse
Unlock checklist
- Confirm Glurch Eye, Ghorm's Horn and Stolen Crystal Heart are installed in their statues.
- Interact with the now-powered Core and finish its dialogue.
- Travel to the Great Wall and interact with it to lower the barrier.
- Return to the Core for guidance toward the next biome. Directions vary by world, so use your own dialogue rather than someone else's map.
Playing together
Each player should speak to the powered Core to unlock their own Souls tab. One teammate's conversation is not a substitute for your character completing that step.
Where this route ends
This page takes you through the opening gate. It is not a full titan-order walkthrough or a claim that your current armor is ready for every outer biome. Establish food, repairs and a reliable route home before extending your exploration.
Sources and version notes
An opening-game reference, checked October 24, 2026 against the community Core Keeper Wiki's game-data tables and the official 1.3 update context. Wiki pages can lag individual patches; compare your recipe panel before spending scarce materials. Suggested preparation is editorial guidance, not a tested speedrun or an endgame build ranking. Sprites belong to Pugstorm and its partners. The wiki's community-text license is separate from ownership of game artwork.