
Battlefield 6 Vegas Maps: Routes and Objectives to Learn First
Use alternate routes on Vegas Strip and pick between the surface and crater fights on Area 51. Here is where to focus your first squad sessions.
On Vegas Strip, look for a covered or elevated approach before crossing the main road. On Area 51, decide whether your squad is contesting the surface or the underground objectives. Those two checks give you a useful starting plan for Battlefield 6's new maps.
This is preparation based on the developers' October 9 map briefing, ahead of the announced October 13 release. It is not a tested route ranking. Use it to choose what to inspect in your first matches, then adjust to the live layout and enemy positions.
Vegas Strip: choose an approach before crossing
The Strip gives infantry interior routes and storm drains alongside streets used by vehicles. When the direct crossing is under pressure, check whether your squad can reach the same objective through cover. A longer approach can be worth taking if it keeps the team together for the fight.
Rooftops and upper floors also matter. Before pushing from street level, look up and identify where teammates could support the approach. That is a preparation check, not a promise that the roof is always the best position.

Olympus: check more than the front entrance
The developers describe valet and staff entrances, plus a rooftop approach through the damaged dome. If one entrance is being held, assess another before repeating the same push. Let the squad know which approach you are checking so the next attempt has support.
Call out the entrance you intend to use rather than just the objective name. It gives teammates a clearer choice: accompany the push, watch another approach or wait for the group to be ready.
Karat Plaza and Art Deco need different checks
Karat Plaza includes a destructible casino sign. Reassess your view of the objective after destruction changes the space; a position that looked useful earlier may no longer cover the same approach.
Art Deco concentrates infantry fighting inside a damaged hotel while vehicles pressure the surrounding area. Check the interior route and the exit you intend to use. Capturing a point is only part of the job if the squad cannot move on together.
Area 51: choose the crater or the surface fight
The crater contains three underground objectives. The surface gives vehicles and aircraft room to operate. Before spawning, check which fight the squad actually needs another player for. A player defending the tunnels and a player supporting the vehicle fight have different jobs.
Engineers are a useful choice when armor is the immediate problem. If the squad is staying underground, communicate that plan before someone spends the next push trying to catch up from another part of the map.
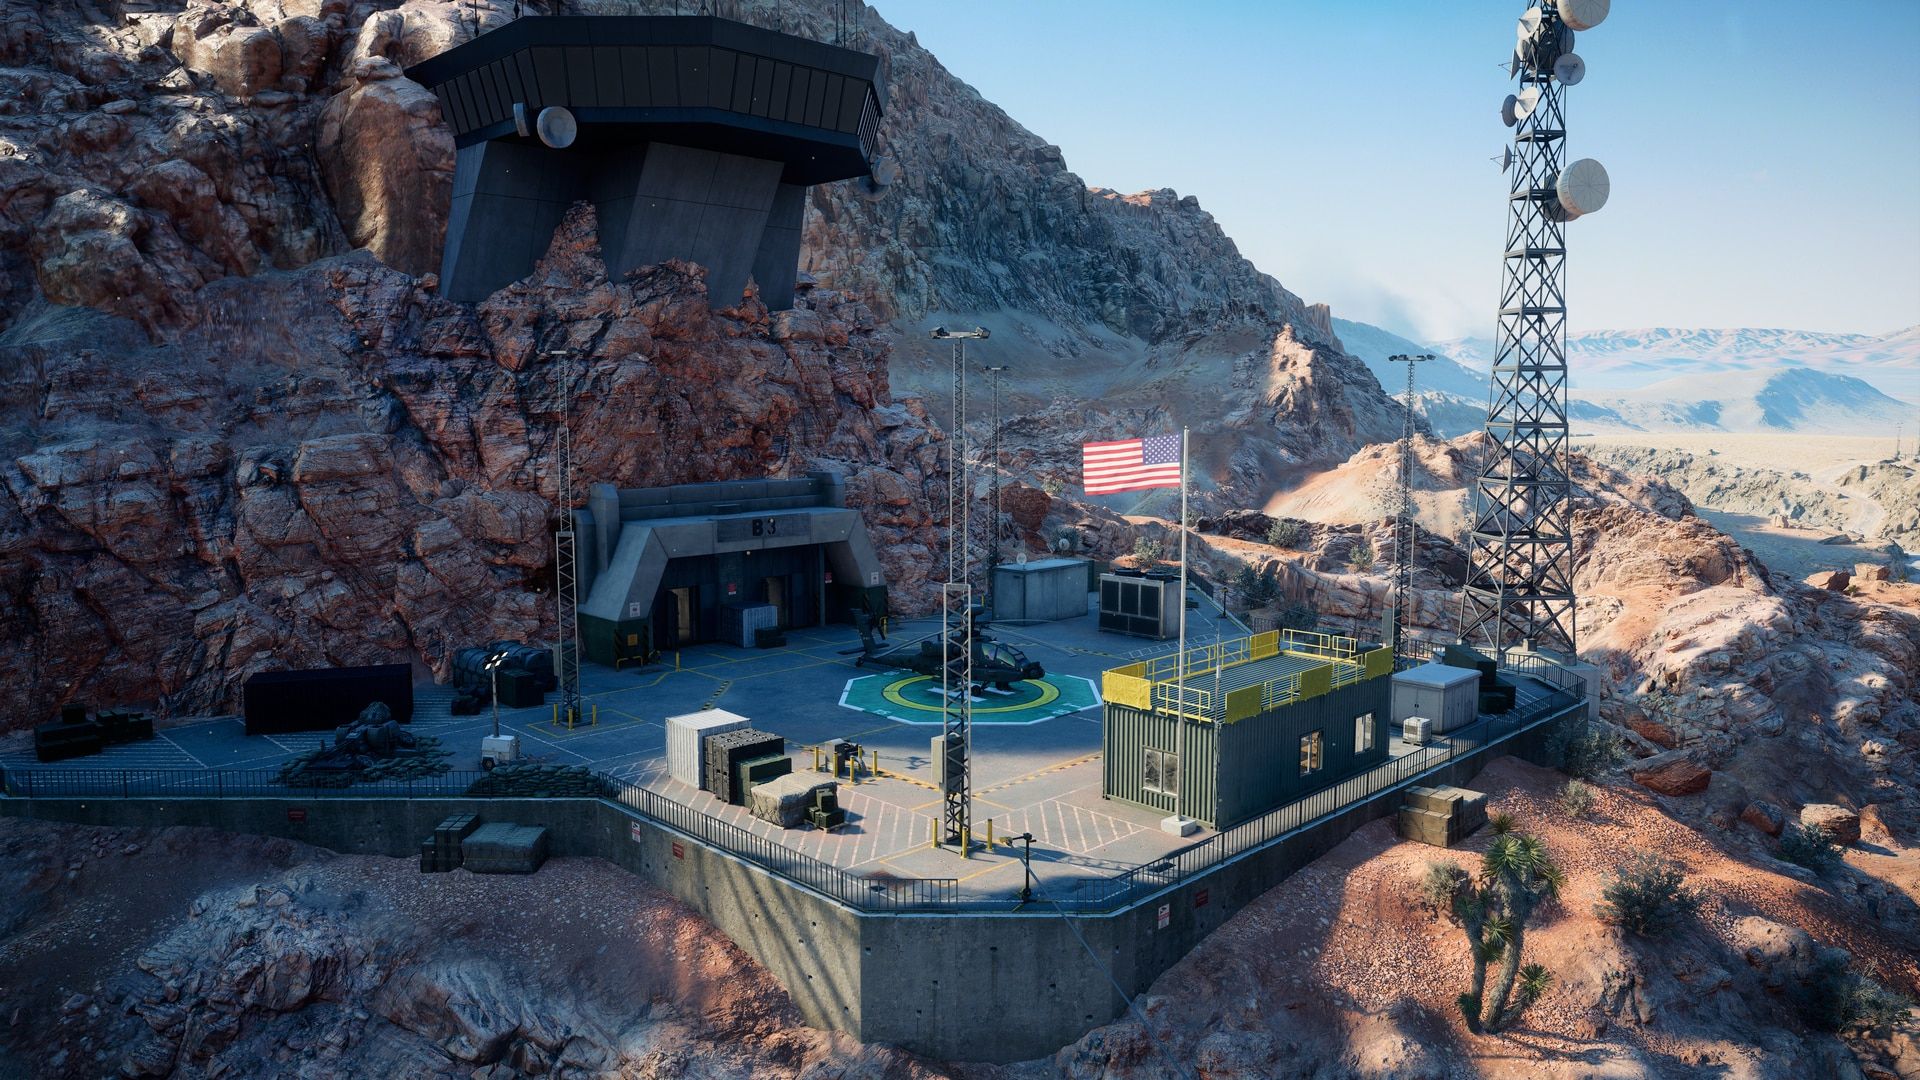
The control tower is a decision, not just a firing position
The Aircraft Control Tower offers strong elevated sightlines and can be destroyed. If defenders are controlling your approach from above, assess whether taking the position or bringing it down better serves the squad's next objective.
Destruction changes the fight to the rubble below. Do not assume the same route stays useful afterward. Check what the team can see and where the next push will come from before settling into the replacement position.
Use Comms, Helipad and the hangars for the job at hand
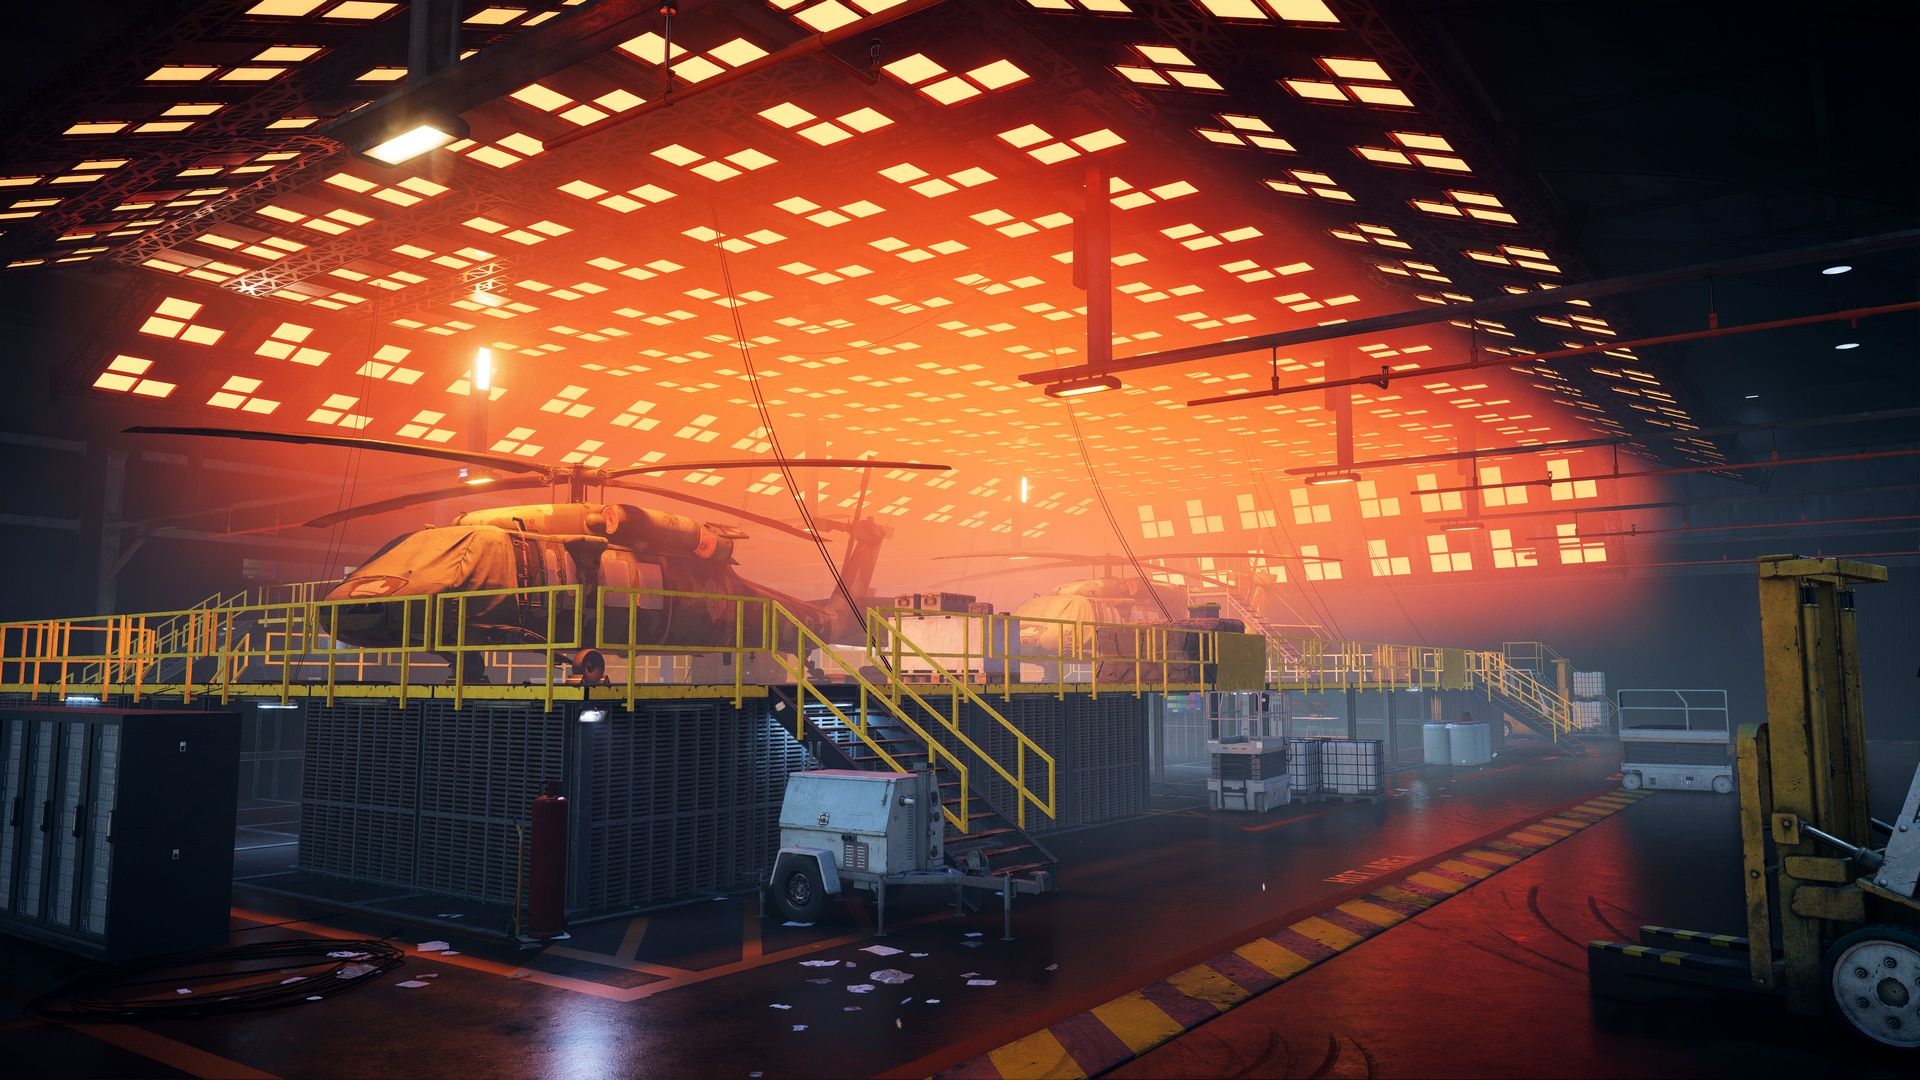
Comms and Helipad provide elevated observation; the hot hangar mixes infantry and vehicles, while the cold hangar is more focused on infantry. Use those differences to choose where your class can help rather than following the closest gunfire.
For the first sessions, keep the squad check short: which objective, which approach, and who supports it? After a failed push, change one part of that plan and see what the next attempt teaches you. The briefing supplies places to inspect; the live match decides which route is open.